On this page
Switch your H16 between MIPI and HDMI, mid-flight
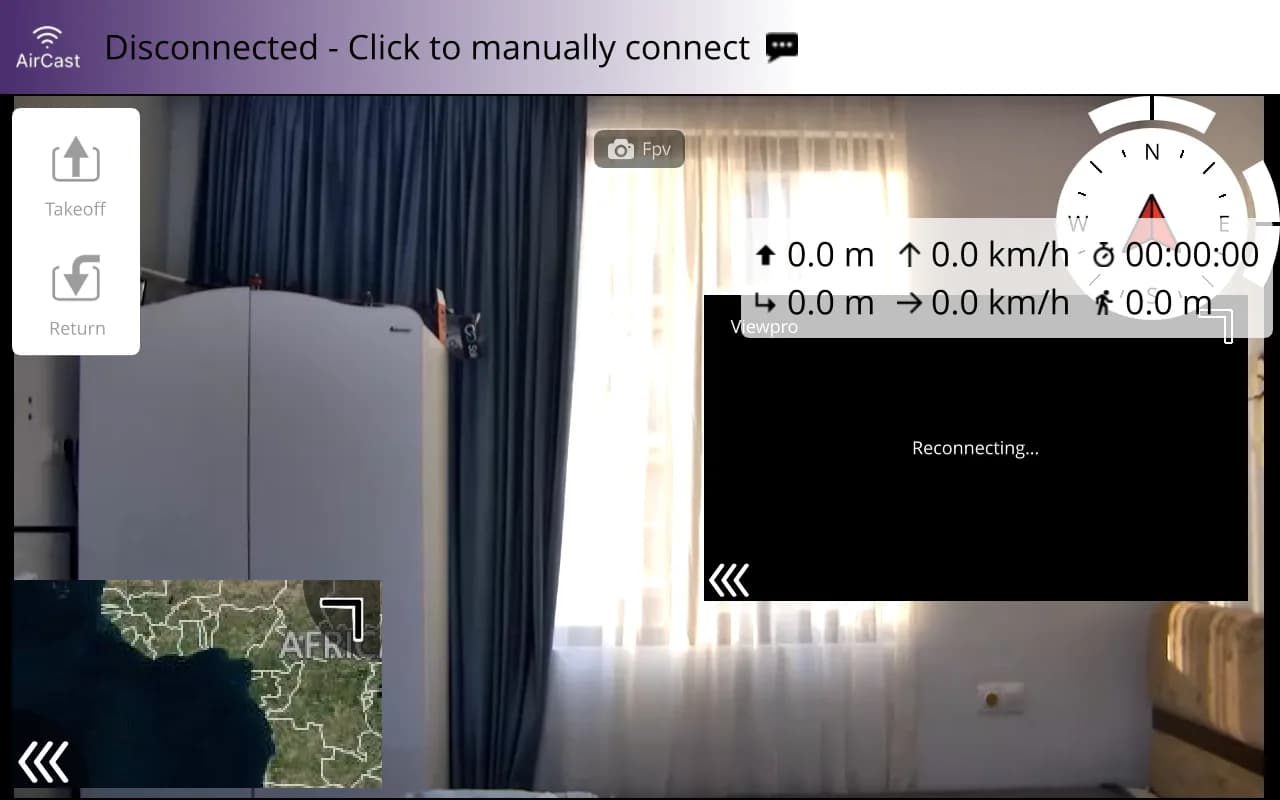
Two cameras on the air unit, one screen on the remote. Aircast QGC runs on the SkyDroid H16 itself, plays the air unit's video, and swaps between its MIPI and HDMI inputs with one tap on the video. Stock QGroundControl can only show whichever input the air unit started with.
How the remote is wired inside
Knowing this saves an afternoon. The remote runs a MAVLink router that keeps two separate traffic domains:
| Traffic | Where the remote delivers it | What it carries |
|---|---|---|
| Flight controller telemetry | UDP 127.0.0.1:14551 and TCP 5760 | Your autopilot, exactly what any ground station expects |
| Air unit camera control | UDP 127.0.0.1:15552, answered only to the app that talks to it first | The air unit's own MAVLink camera (system 42), which selects the MIPI or HDMI input |
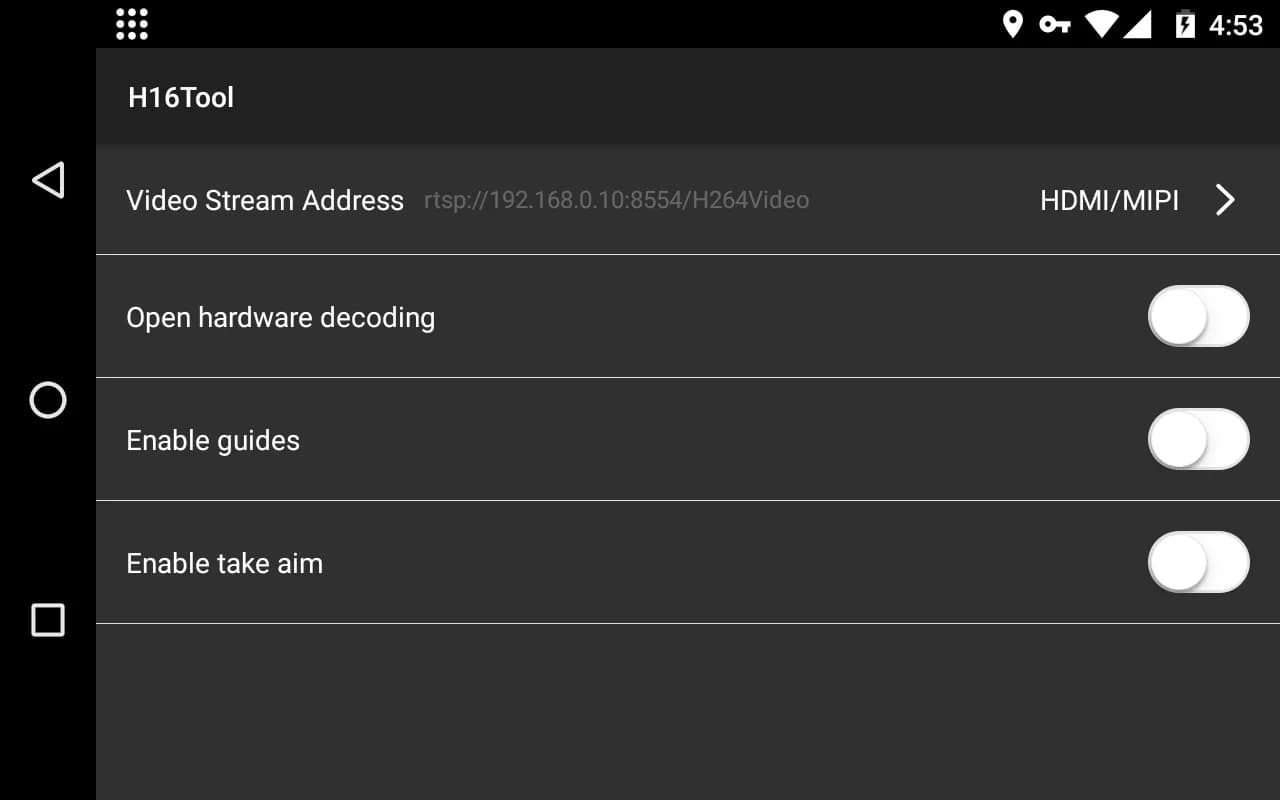
| Video | rtsp://192.168.0.10:8554/H264Video | One H.264 stream, 1280x720, showing whichever input is selected |
A stock QGroundControl only ever sees the first domain, so it can play the video but has no way to switch inputs. Aircast QGC opens a second link to the camera domain and drives the switch itself.
Set it up
Install the Android build
Download AircastQGC-vX.Y.Z.apk from the releases page and install it on the remote. Production builds ship both 64-bit and 32-bit ARM and run on Android 6 or newer, so the H16's Android 7.1 is covered. The remote has limited storage: if the install fails with "insufficient storage", remove the previous version first and install again. Your settings survive.
Links are created for you
On its first start on the H16, Aircast QGC recognises the remote and creates the two links it needs: "H16 telemetry" on UDP 14551 for the flight controller, and "H16 camera" to 127.0.0.1:15552 for the air unit's camera control. It also switches off UDP auto-connect, because the remote's router already owns port 14550. Both links show up under Application Settings, Comm Links, if you ever want to look.
Plug in the air unit
Power the air unit with a camera on at least one input. Within a few seconds the button on the video changes from the camera name to the name of the live input, MIPI or HDMI. That is the sign the app has found the air unit's camera.
Video source
In Video Settings set the source to RTSP Video Stream with this URL:
rtsp://192.168.0.10:8554/H264VideoThe same address serves both inputs; the air unit decides which one it encodes. Paste it without leading or trailing spaces, and do not add a second camera for the other input.
Success: the fly view shows the picture from the selected input within a few seconds of the air unit powering up.
Switch between MIPI and HDMI
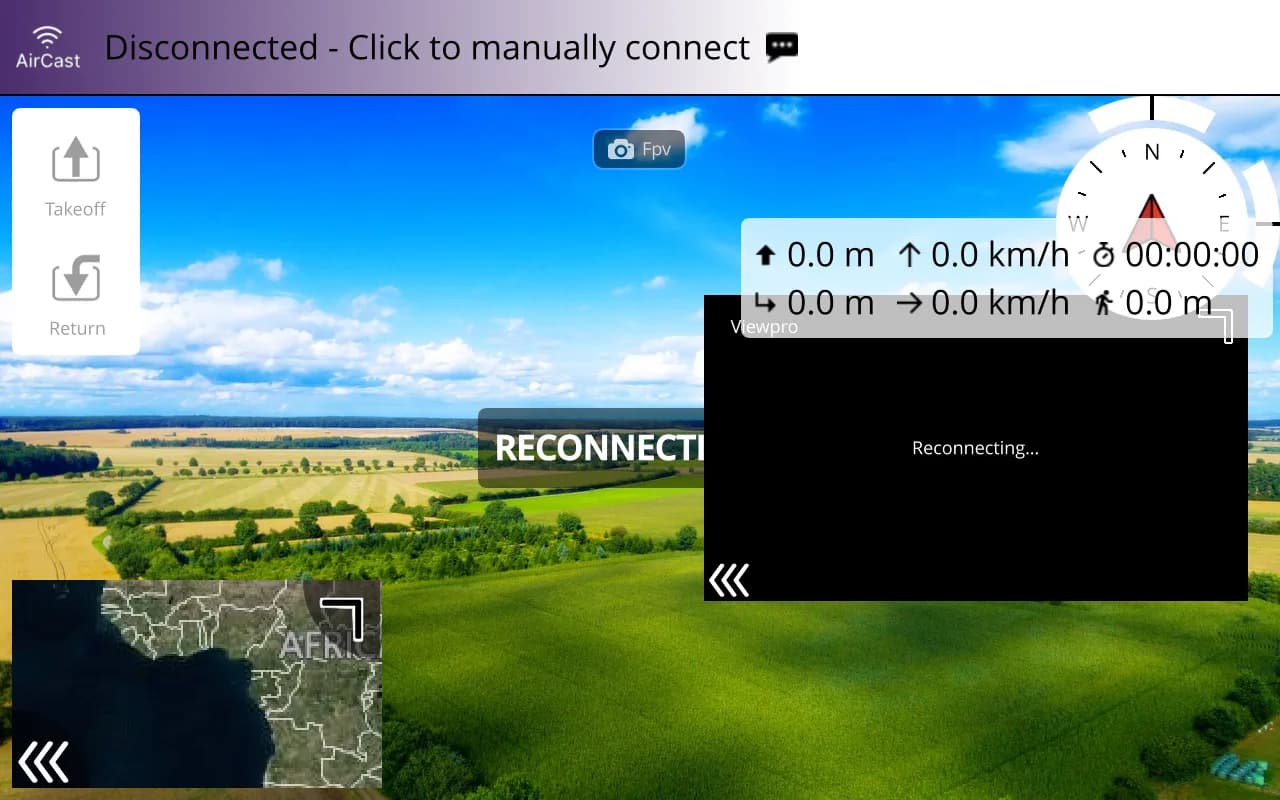
Tap the input button on the video. The air unit restarts its encoder on the other input and the picture reappears after a short reconnect. If the air unit refuses the change, a short notice appears under the button, for example "Air unit refused HDMI", and the label stays on the input that is actually live. An input with nothing plugged in shows as a stream that never delivers frames.
If you also added extra RTSP cameras in Video Settings, the same button opens a list instead, with your cameras first and the two air unit inputs below, so nothing gets hidden.
What's verified
- Aircast QGC installs and runs on the H16's Android 7.1.2
- The air unit's 1280x720 H.264 stream plays in the fly view
- The input switch reaches the air unit as a MAVLink camera command and the air unit confirms the change
- Tested with a camera on one input; both inputs live is the next check
Flash your Pi in about 5 minutes
The Aircast Flasher downloads the image, sets Wi-Fi and hostname, and verifies the card.
On This Page