Aircast Lite
The all-in-one Raspberry Pi image. Cellular uplink, video streaming, MAVLink telemetry, and a built-in web dashboard — pre-installed and managed for you. Flash it with the Aircast Flasher, power on, open the dashboard. No SSH, no setup scripts.
aircastd serves the dashboard on port 80 and manages streaming, telemetry, and networking. No cloud account, no SSH — it all runs on the device.Flash with the Aircast Flasher
The Aircast Flasher is the easiest way in — it downloads the latest image, writes your Wi-Fi and hostname so the device connects on first boot, then writes and verifies the card. Four steps, no terminal. Download the Aircast Flasher (macOS, Windows, Linux), then follow along.
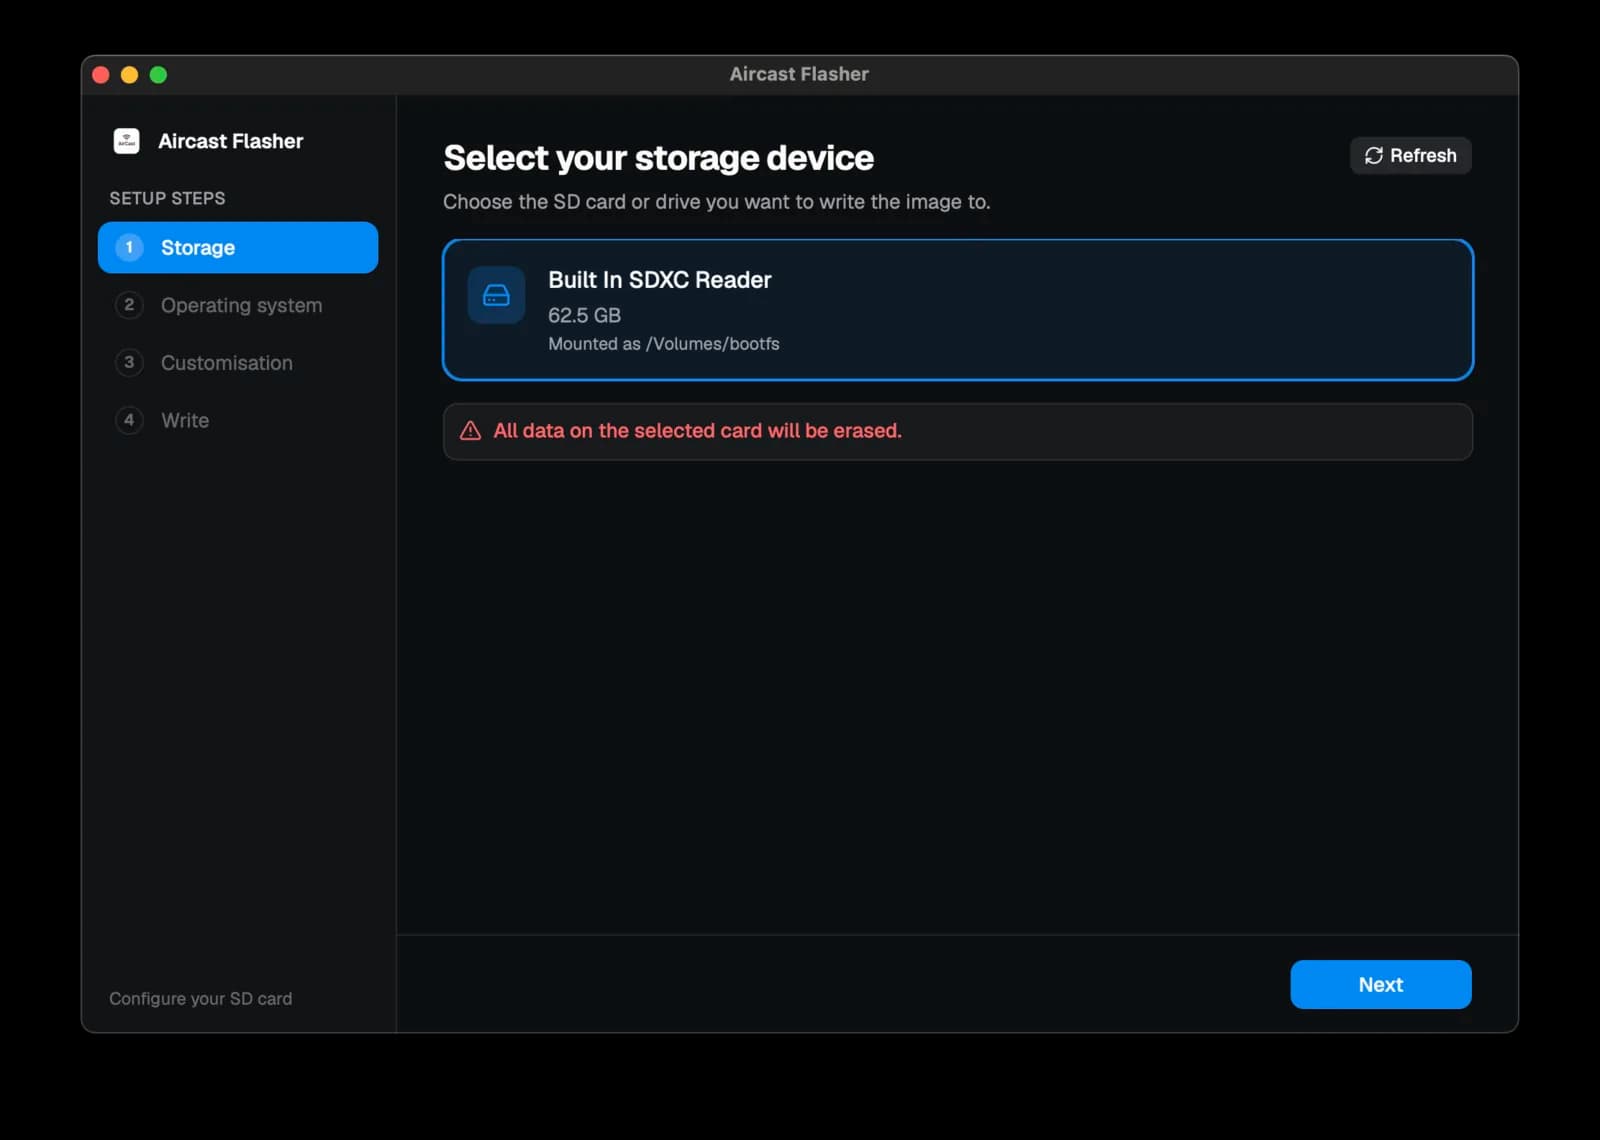
Pick your SD card
Insert a microSD card (16 GB or larger) and select it under Storage. Everything on the card is erased, so double-check you picked the right drive.
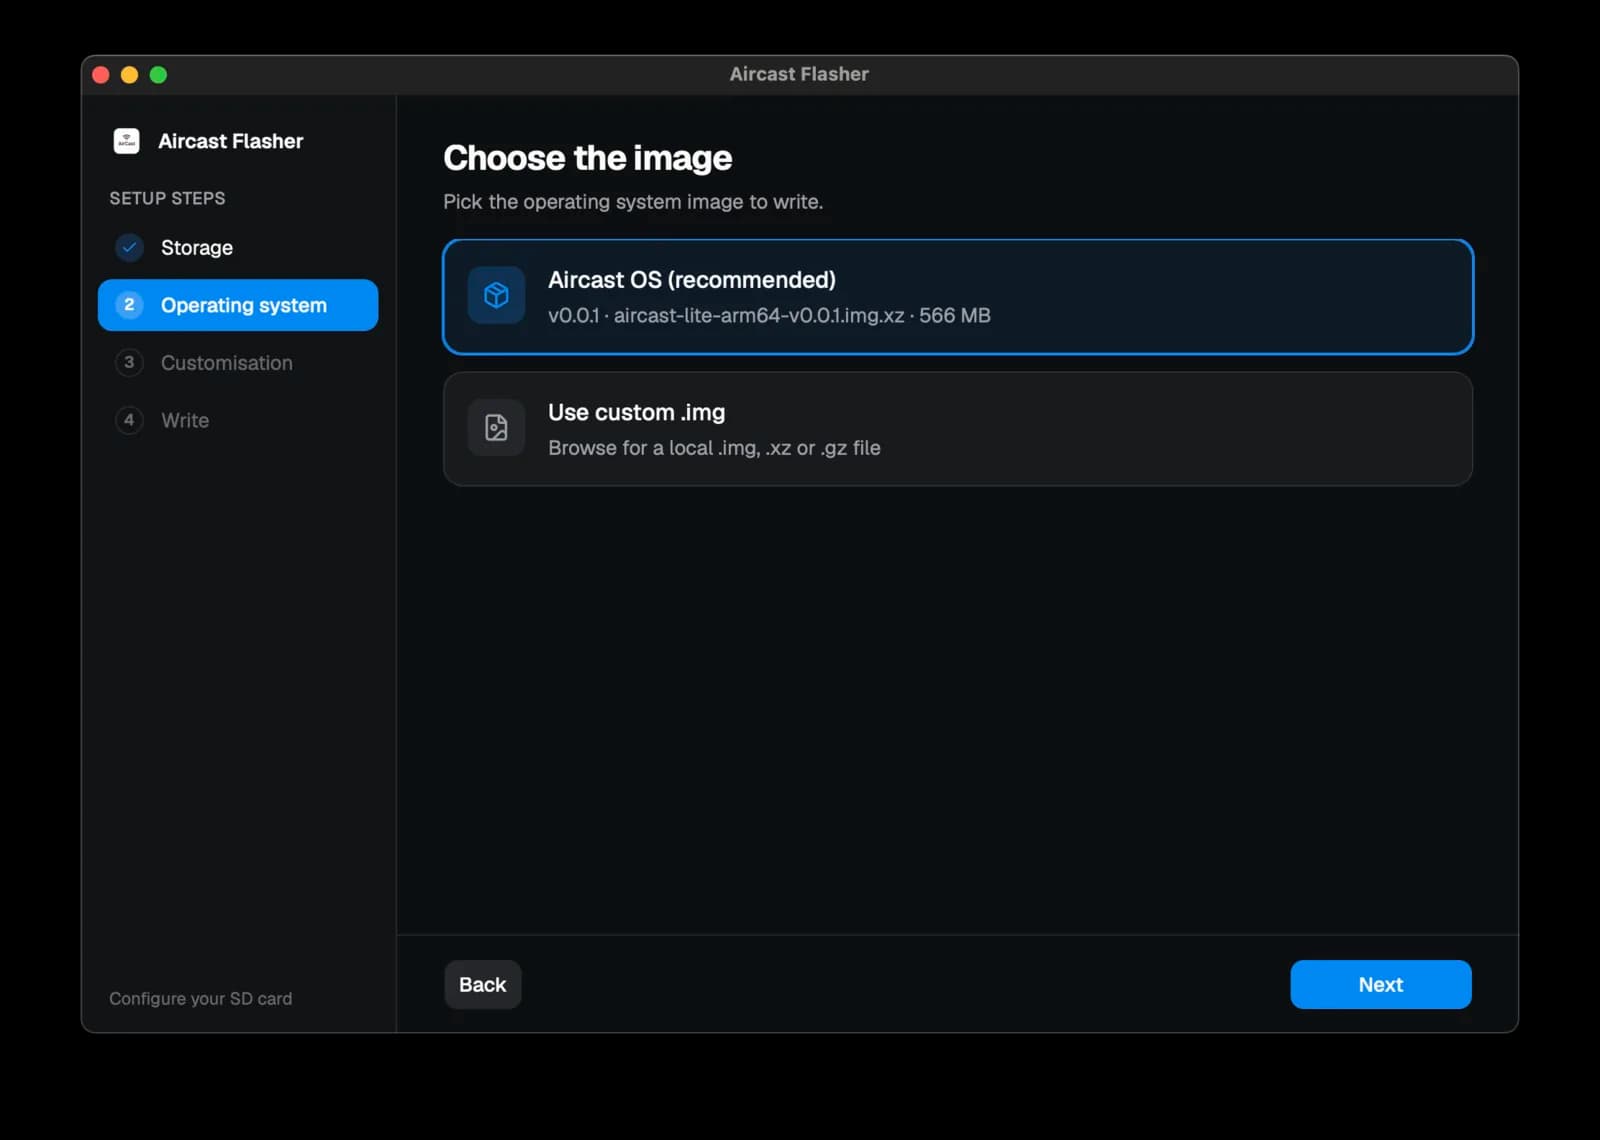
Choose Aircast OS
Under Operating system, leave Aircast OS (recommended) selected — the Flasher fetches the latest Aircast Lite image for you (no manual download). Already have an .img.xz? Choose Use custom .img instead.
Set Wi-Fi & hostname
Under Customisation, pick your Wi-Fi network and enter its password, then give the device a hostname. These are written to the card so it joins your network on first boot — and the hostname becomes how you reach it, e.g. falcon.local. Pick something you'll recognise across a fleet.

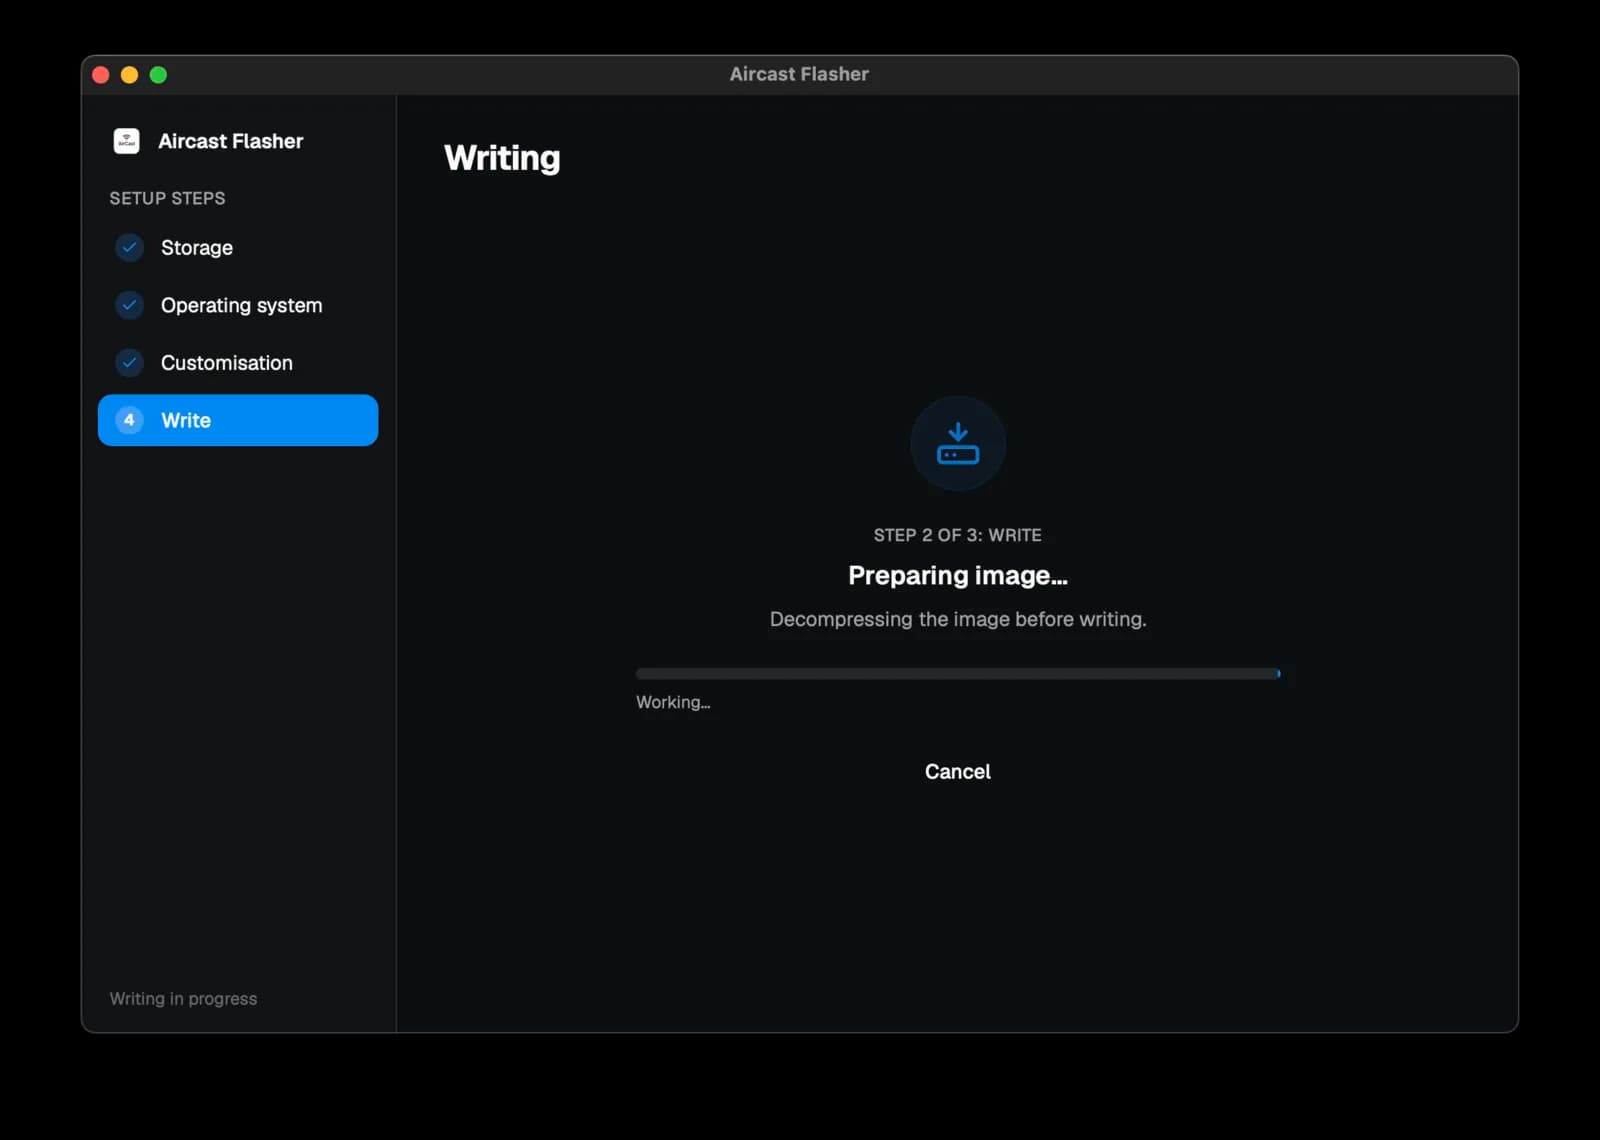
Write & verify
Hit Flash SD Card. The Flasher decompresses the image, writes it, and verifies the card — no need to unpack the .img.xz yourself.
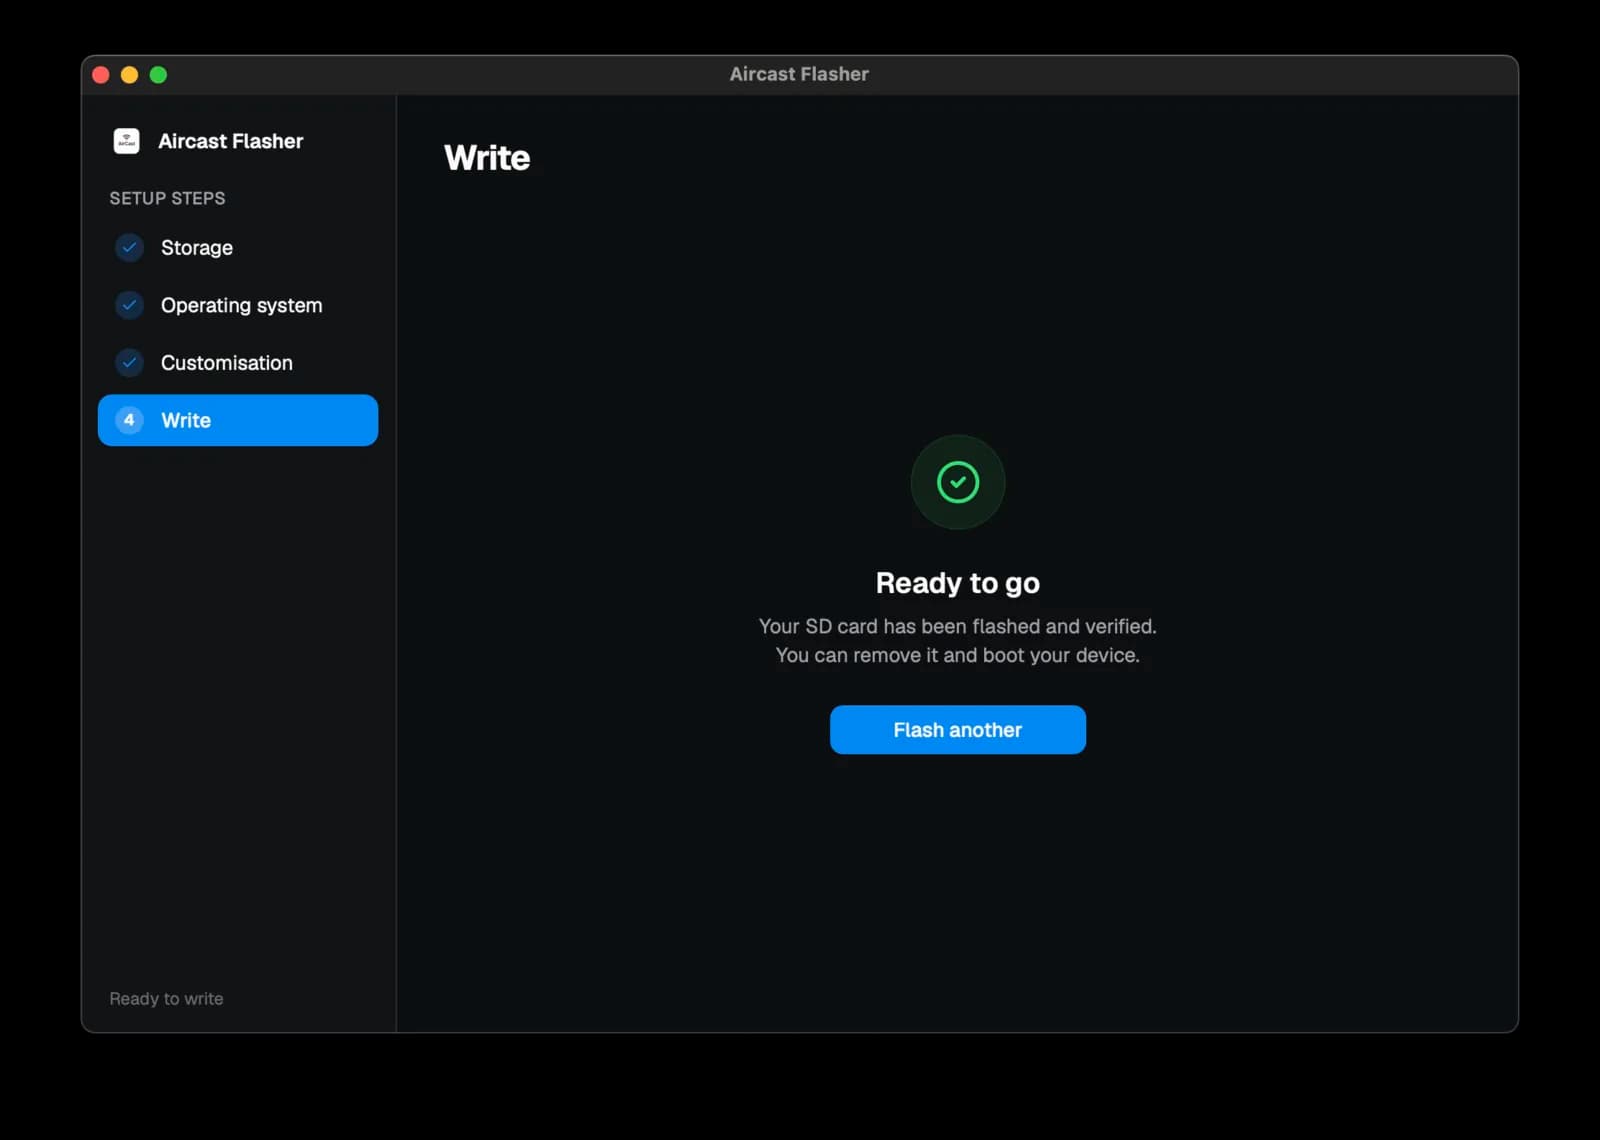
When you see Ready to go, eject the card, slot it into your Pi, connect your camera and modem, and power on.
Latest Release
Version v0.2.0 • Stable version
Raspberry Pi Image
Compatible with: Raspberry Pi 3, 4, 5, and Zero 2 W (64-bit ARM)
Open the dashboard
Give the Pi ~2–3 minutes on first boot to bring up cellular and join your network, then point a browser at the hostname you set — no app to install. If you named it falcon:
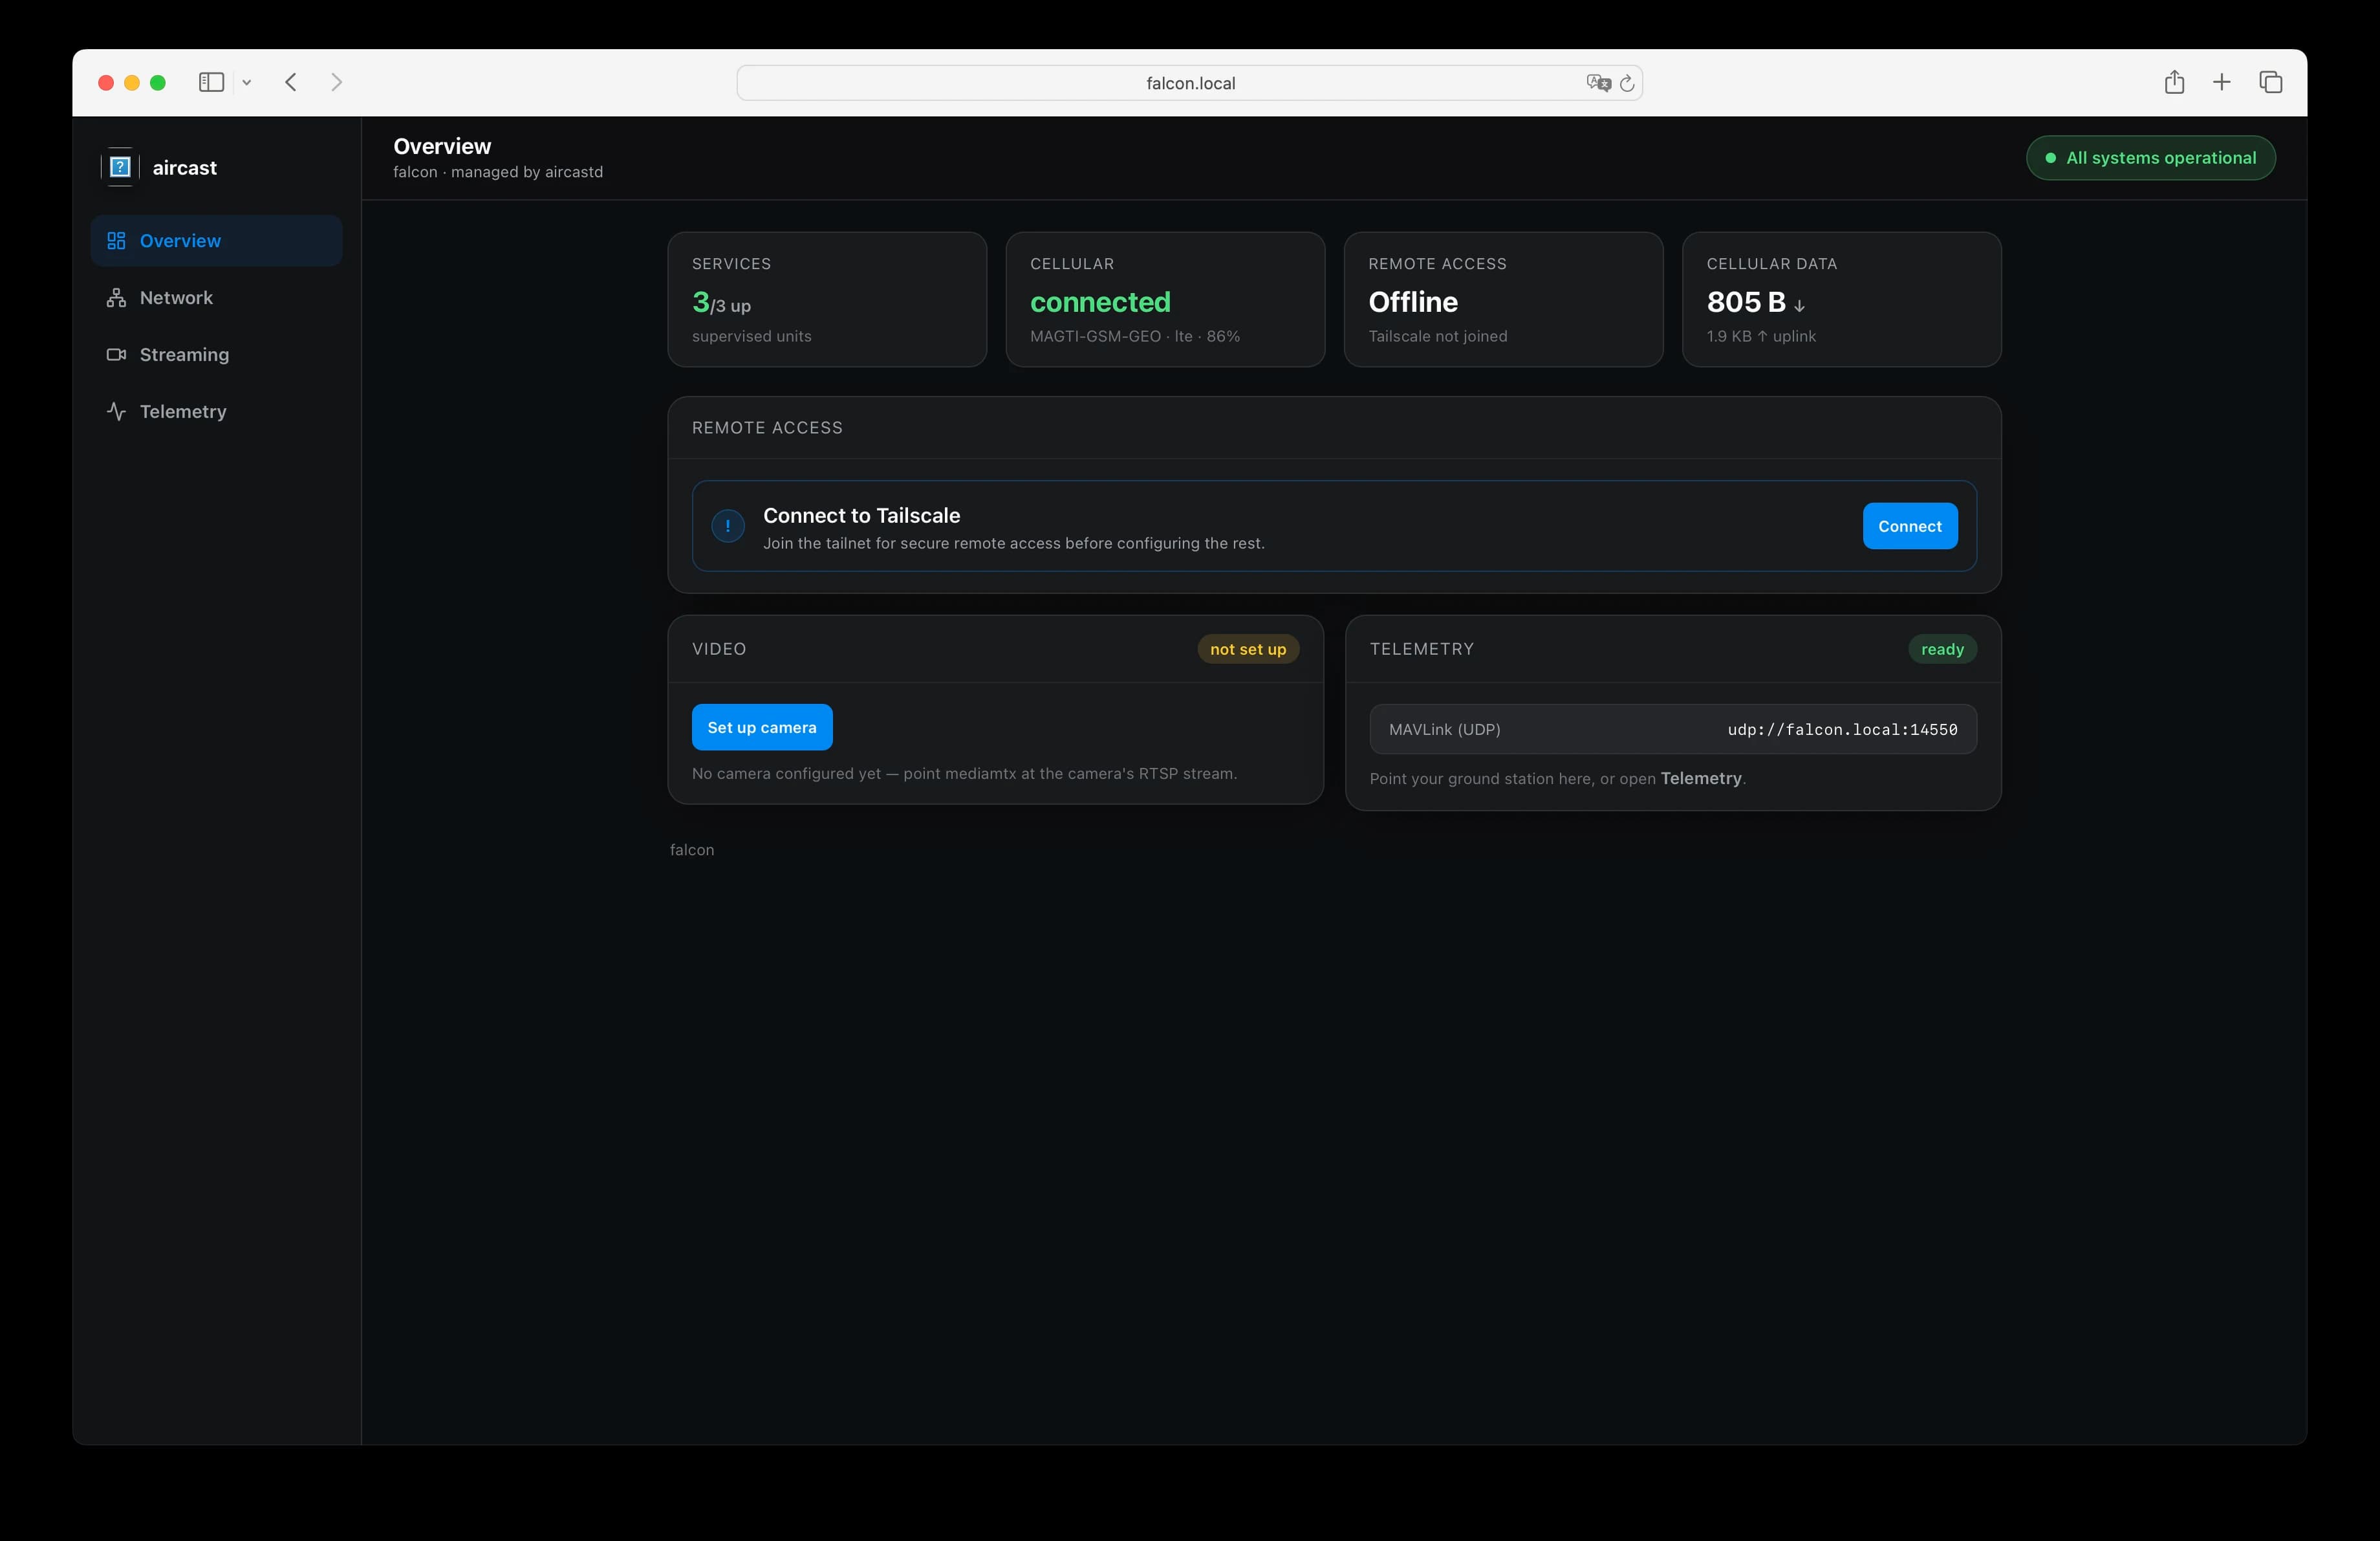
From anywhere, reach it over Tailscale once the device is bound to your tailnet (see the Network tab below). When the device is healthy you'll see the green “All systems operational” banner at the top of every page.
The dashboard, page by page
Overview
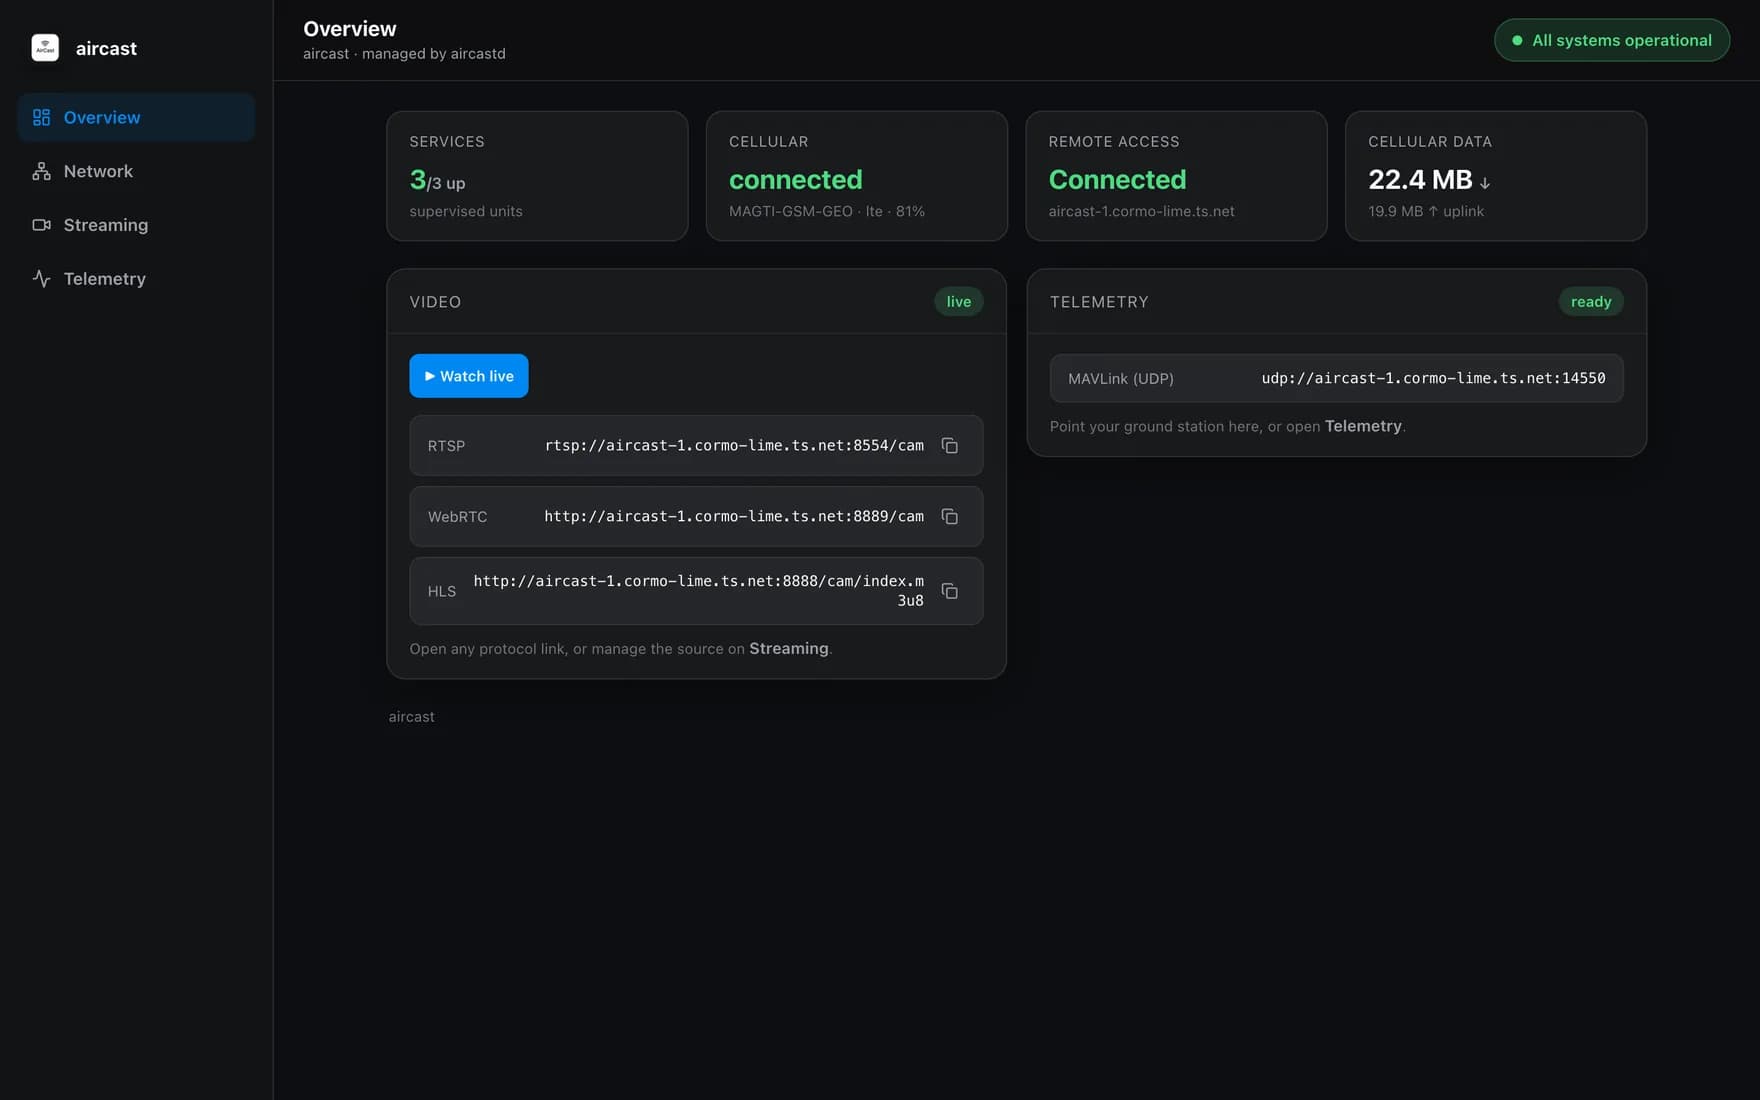
Everything at a glance: how many services are up, cellular carrier & signal, remote-access status, and data used. The Video card gives you ready RTSP, WebRTC, and HLS links (or one-click Watch live), and the Telemetry card shows the MAVLink endpoint to point a ground station at.
Network
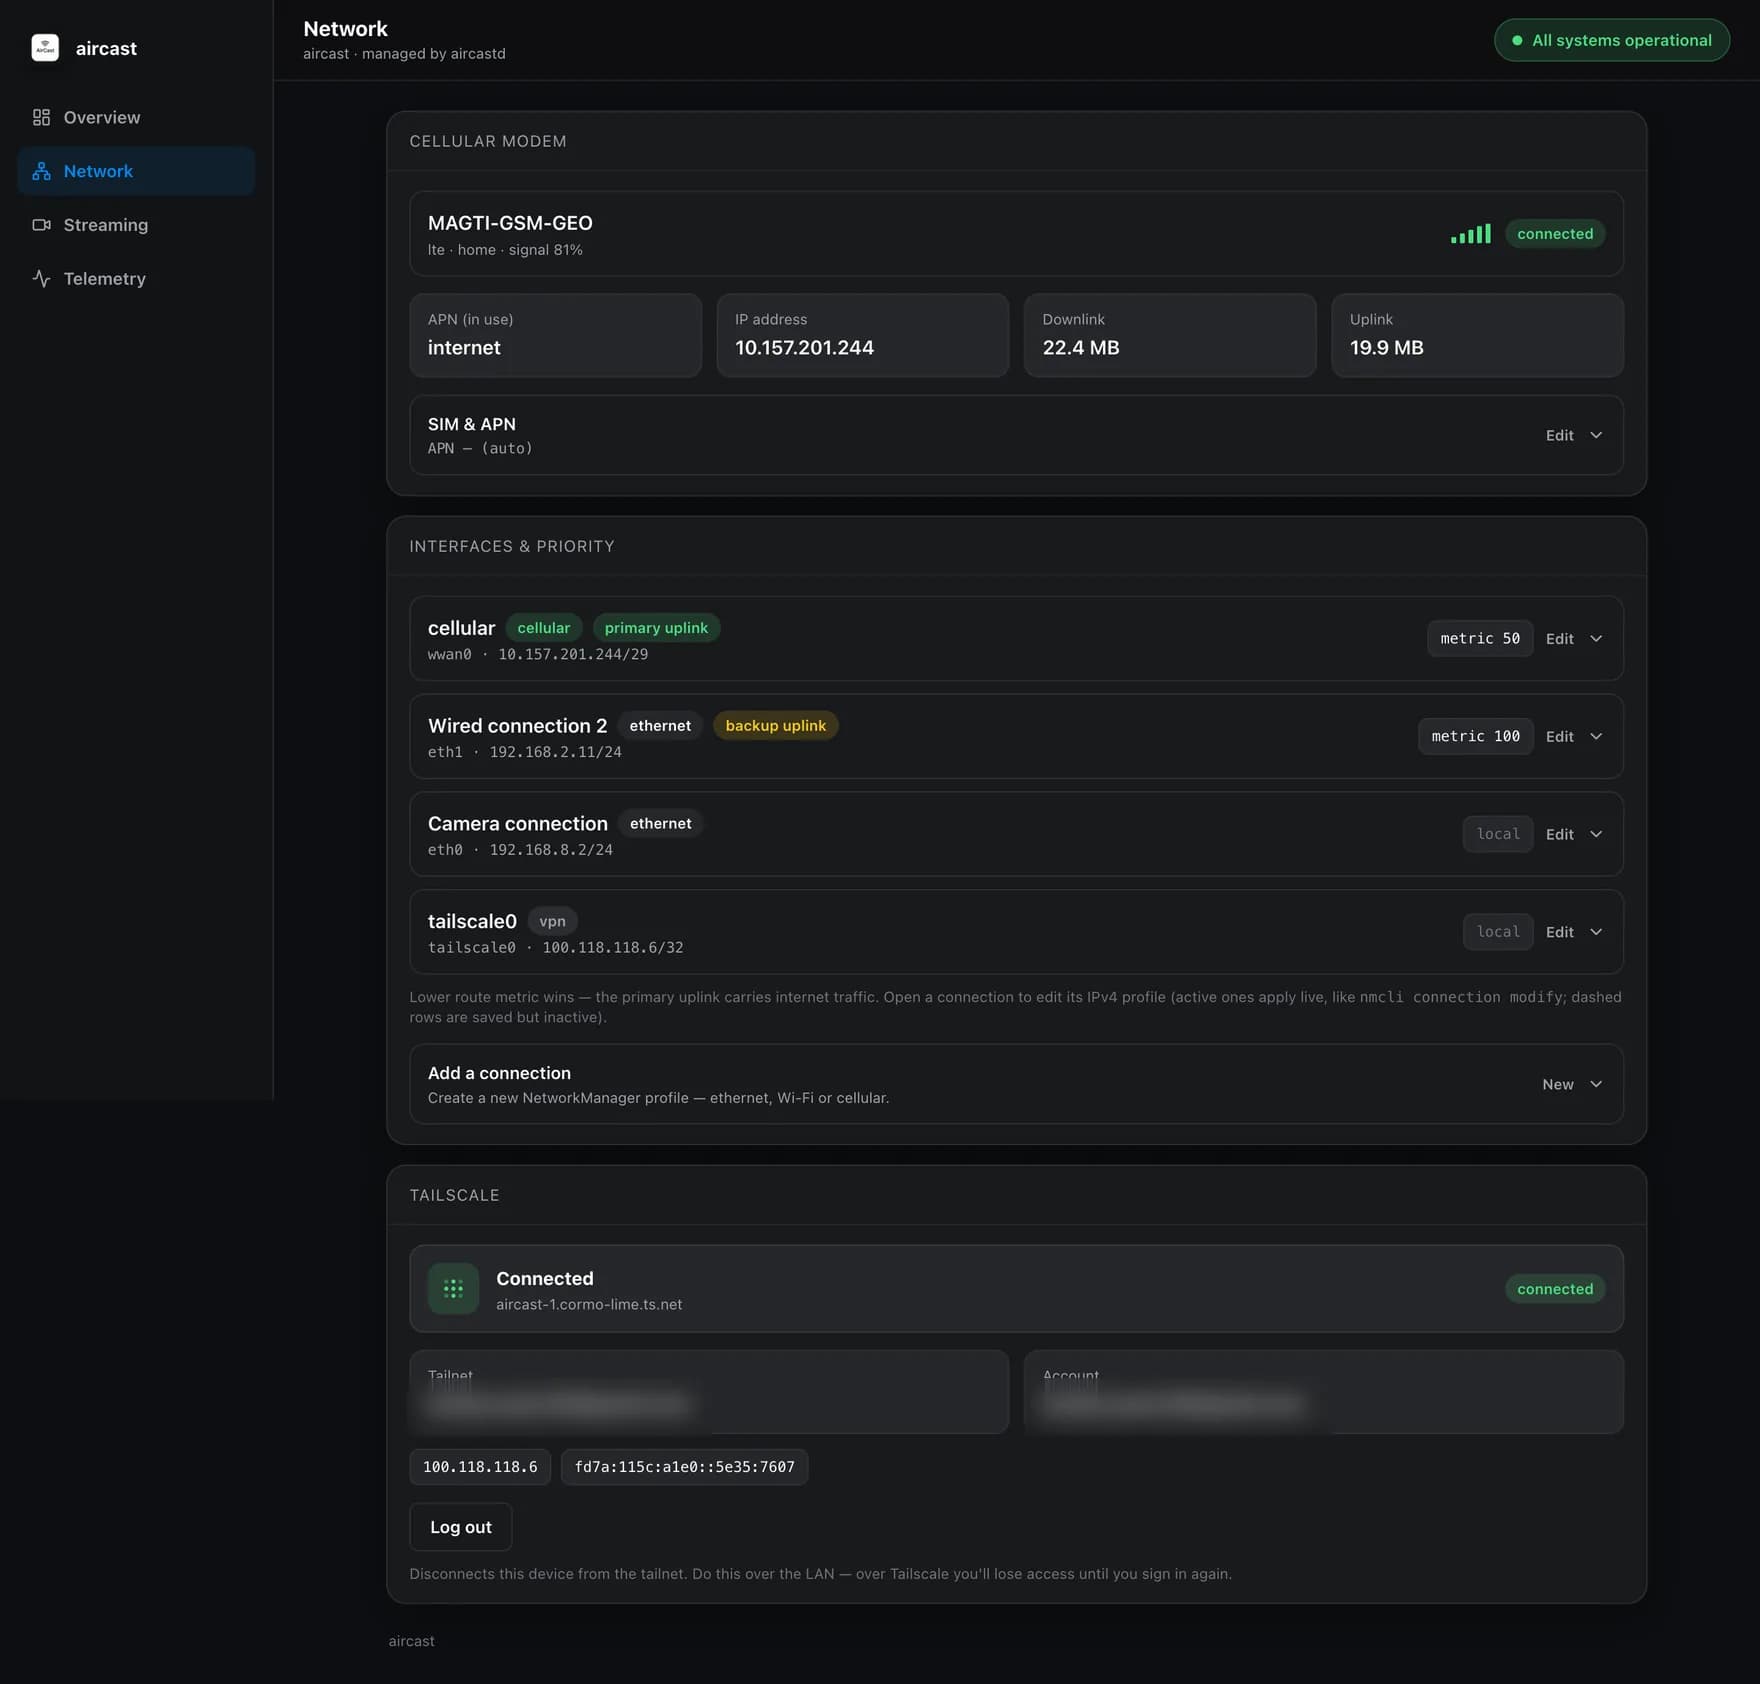
Manage connectivity without touching a terminal. See the cellular modem (carrier, APN, signal, data), and the interface priority — cellular is the primary uplink, with wired/Wi-Fi as automatic backups. The Tailscale panel binds the device to your tailnet so you can reach the dashboard and streams from anywhere.
Streaming
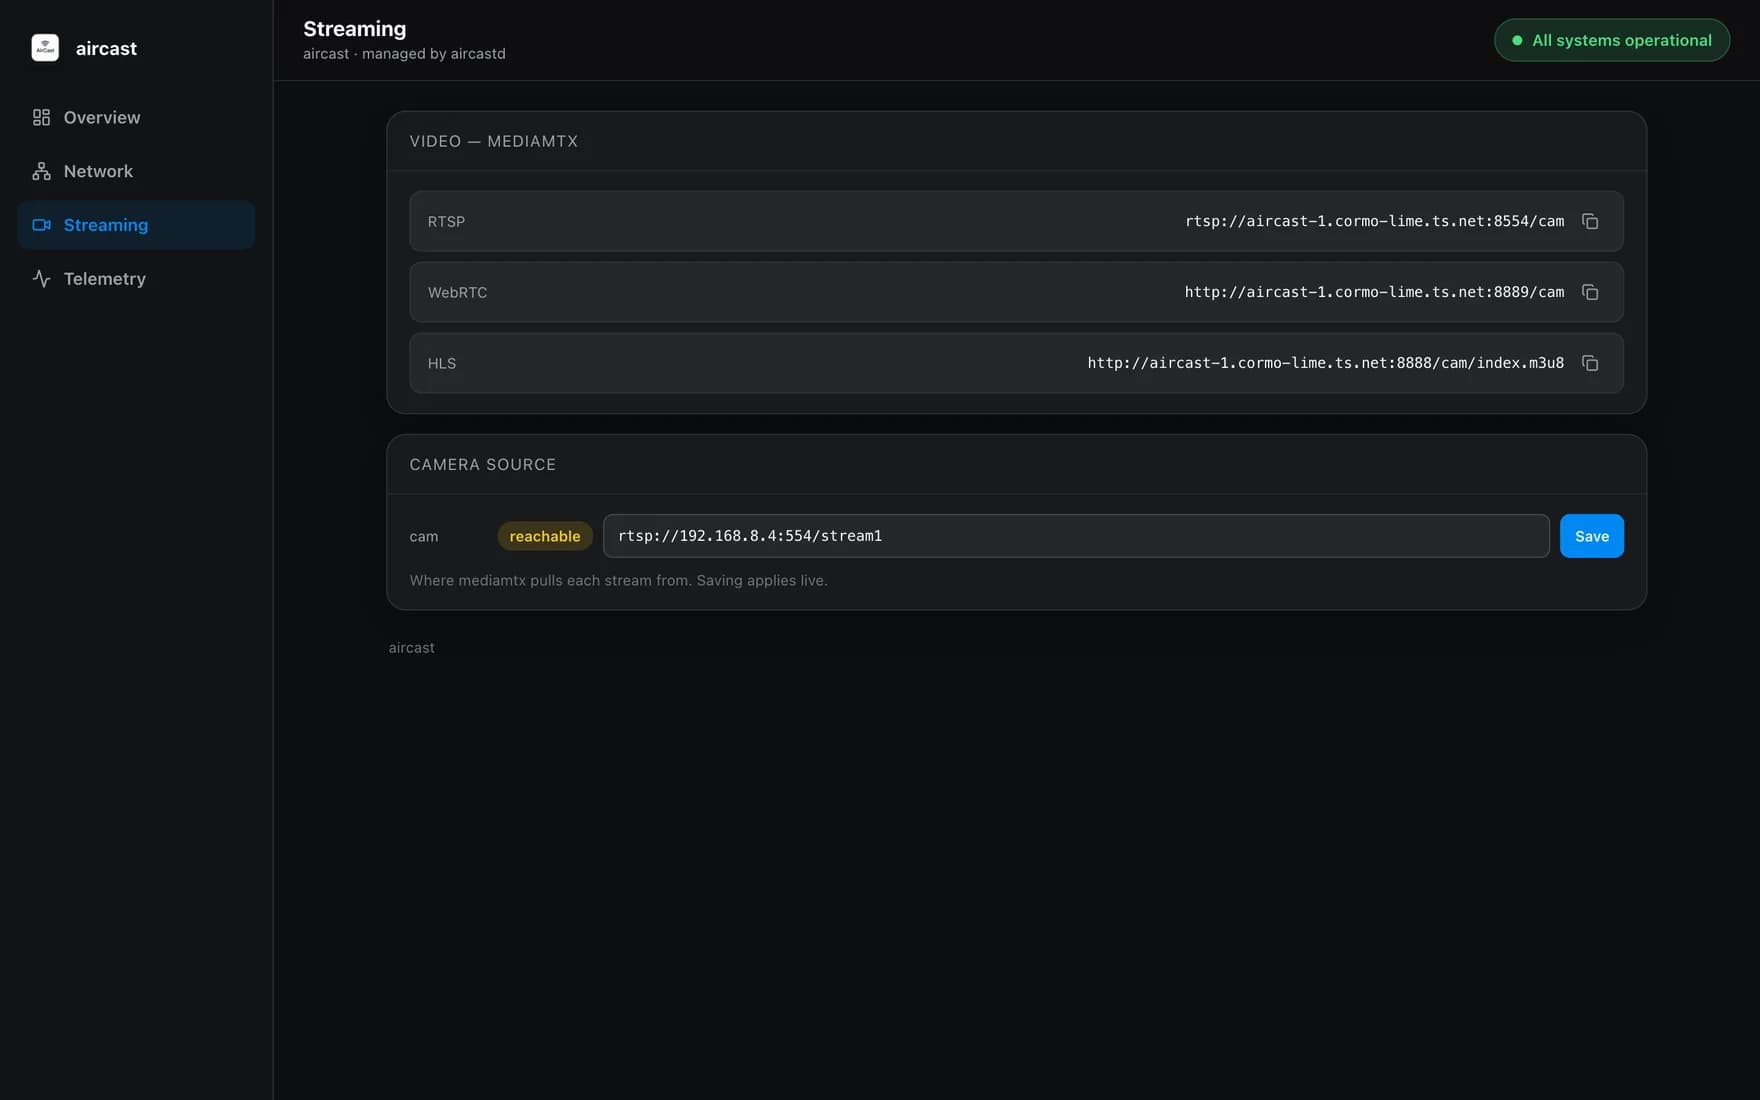
The video plane, powered by MediaMTX. Copy the RTSP, WebRTC, or HLS endpoint for your viewer, and set the Camera Source — the RTSP URL the Pi pulls from (a reachability check confirms the camera is live). Saving applies instantly, no restart.
Telemetry
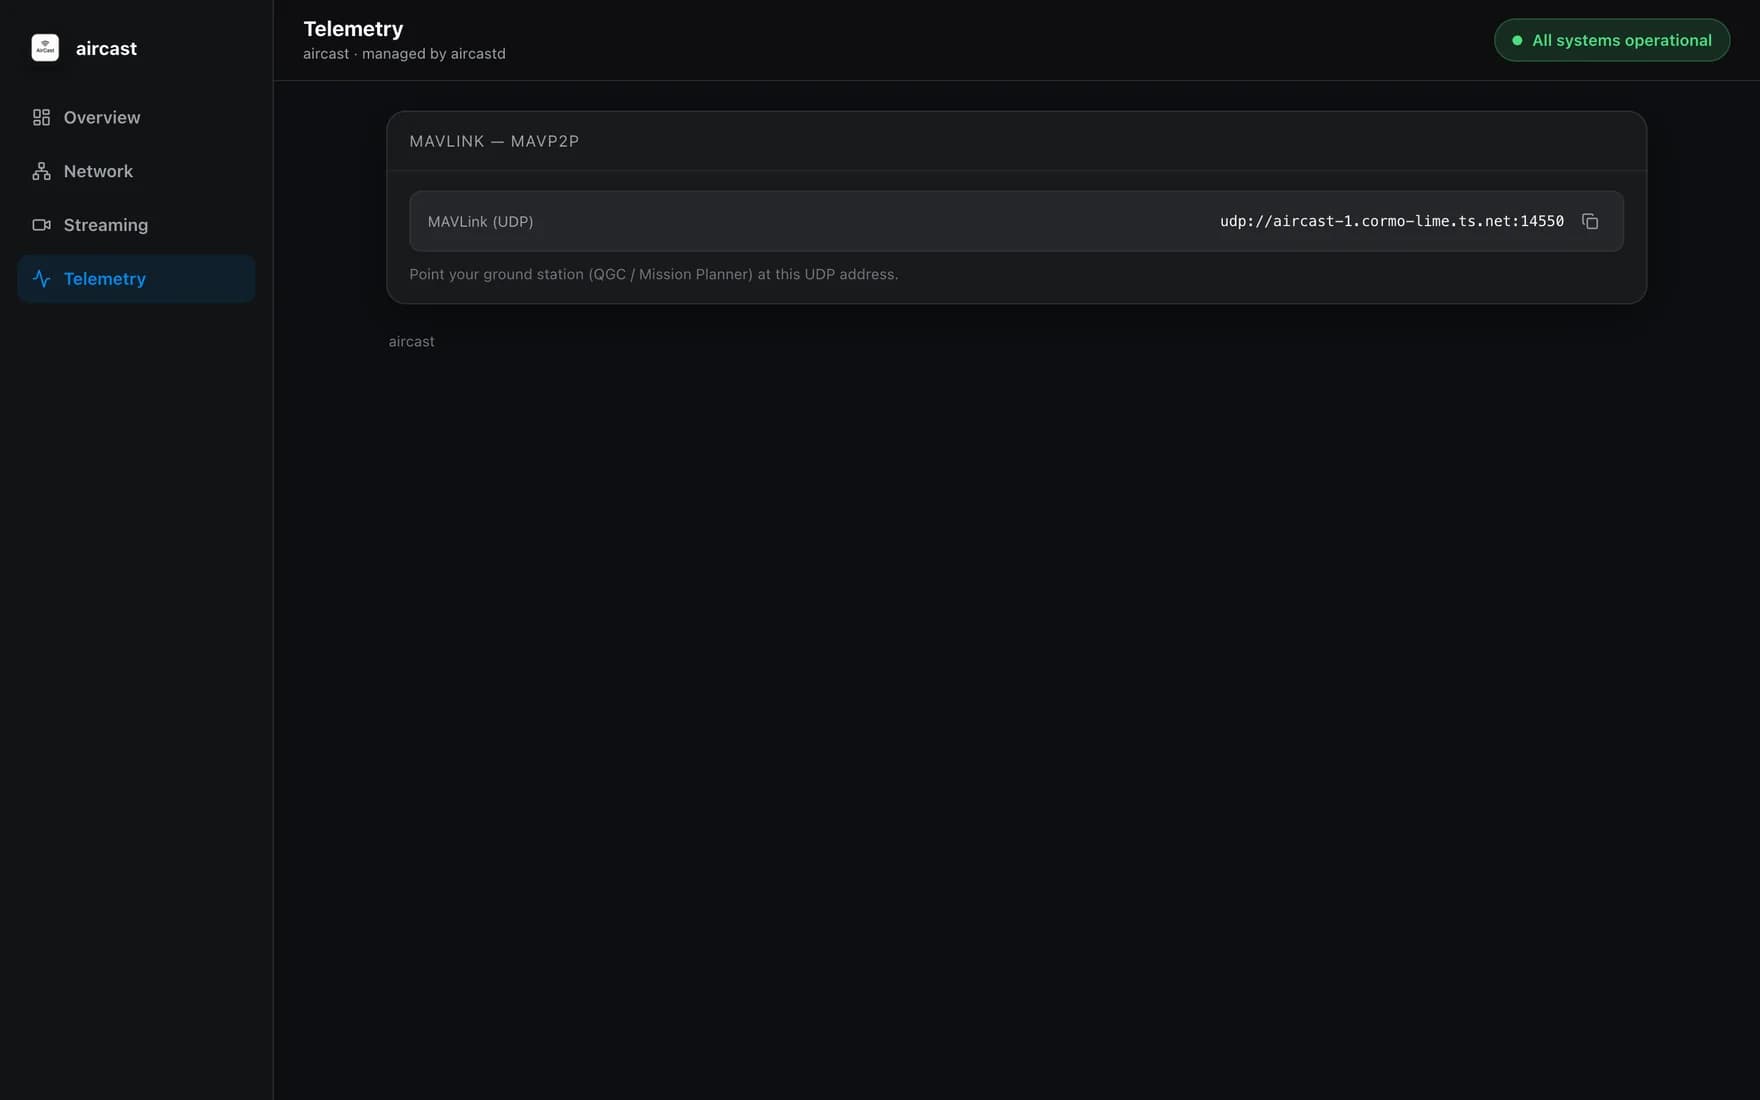
MAVLink routing via mavp2p. Point your ground station — QGroundControl or Mission Planner — at the UDP endpoint shown here and you have flight telemetry alongside the video stream, both over the same cellular link.
Connect remotely with Tailscale
On a cellular link the device sits behind carrier NAT, so it isn't reachable from the internet directly. Tailscale fixes that — it puts the device on your private network so the dashboard, video, and telemetry are reachable from anywhere. You only do this once.
Start the connection
On the Overview page, find the Remote Access card and click Connect.
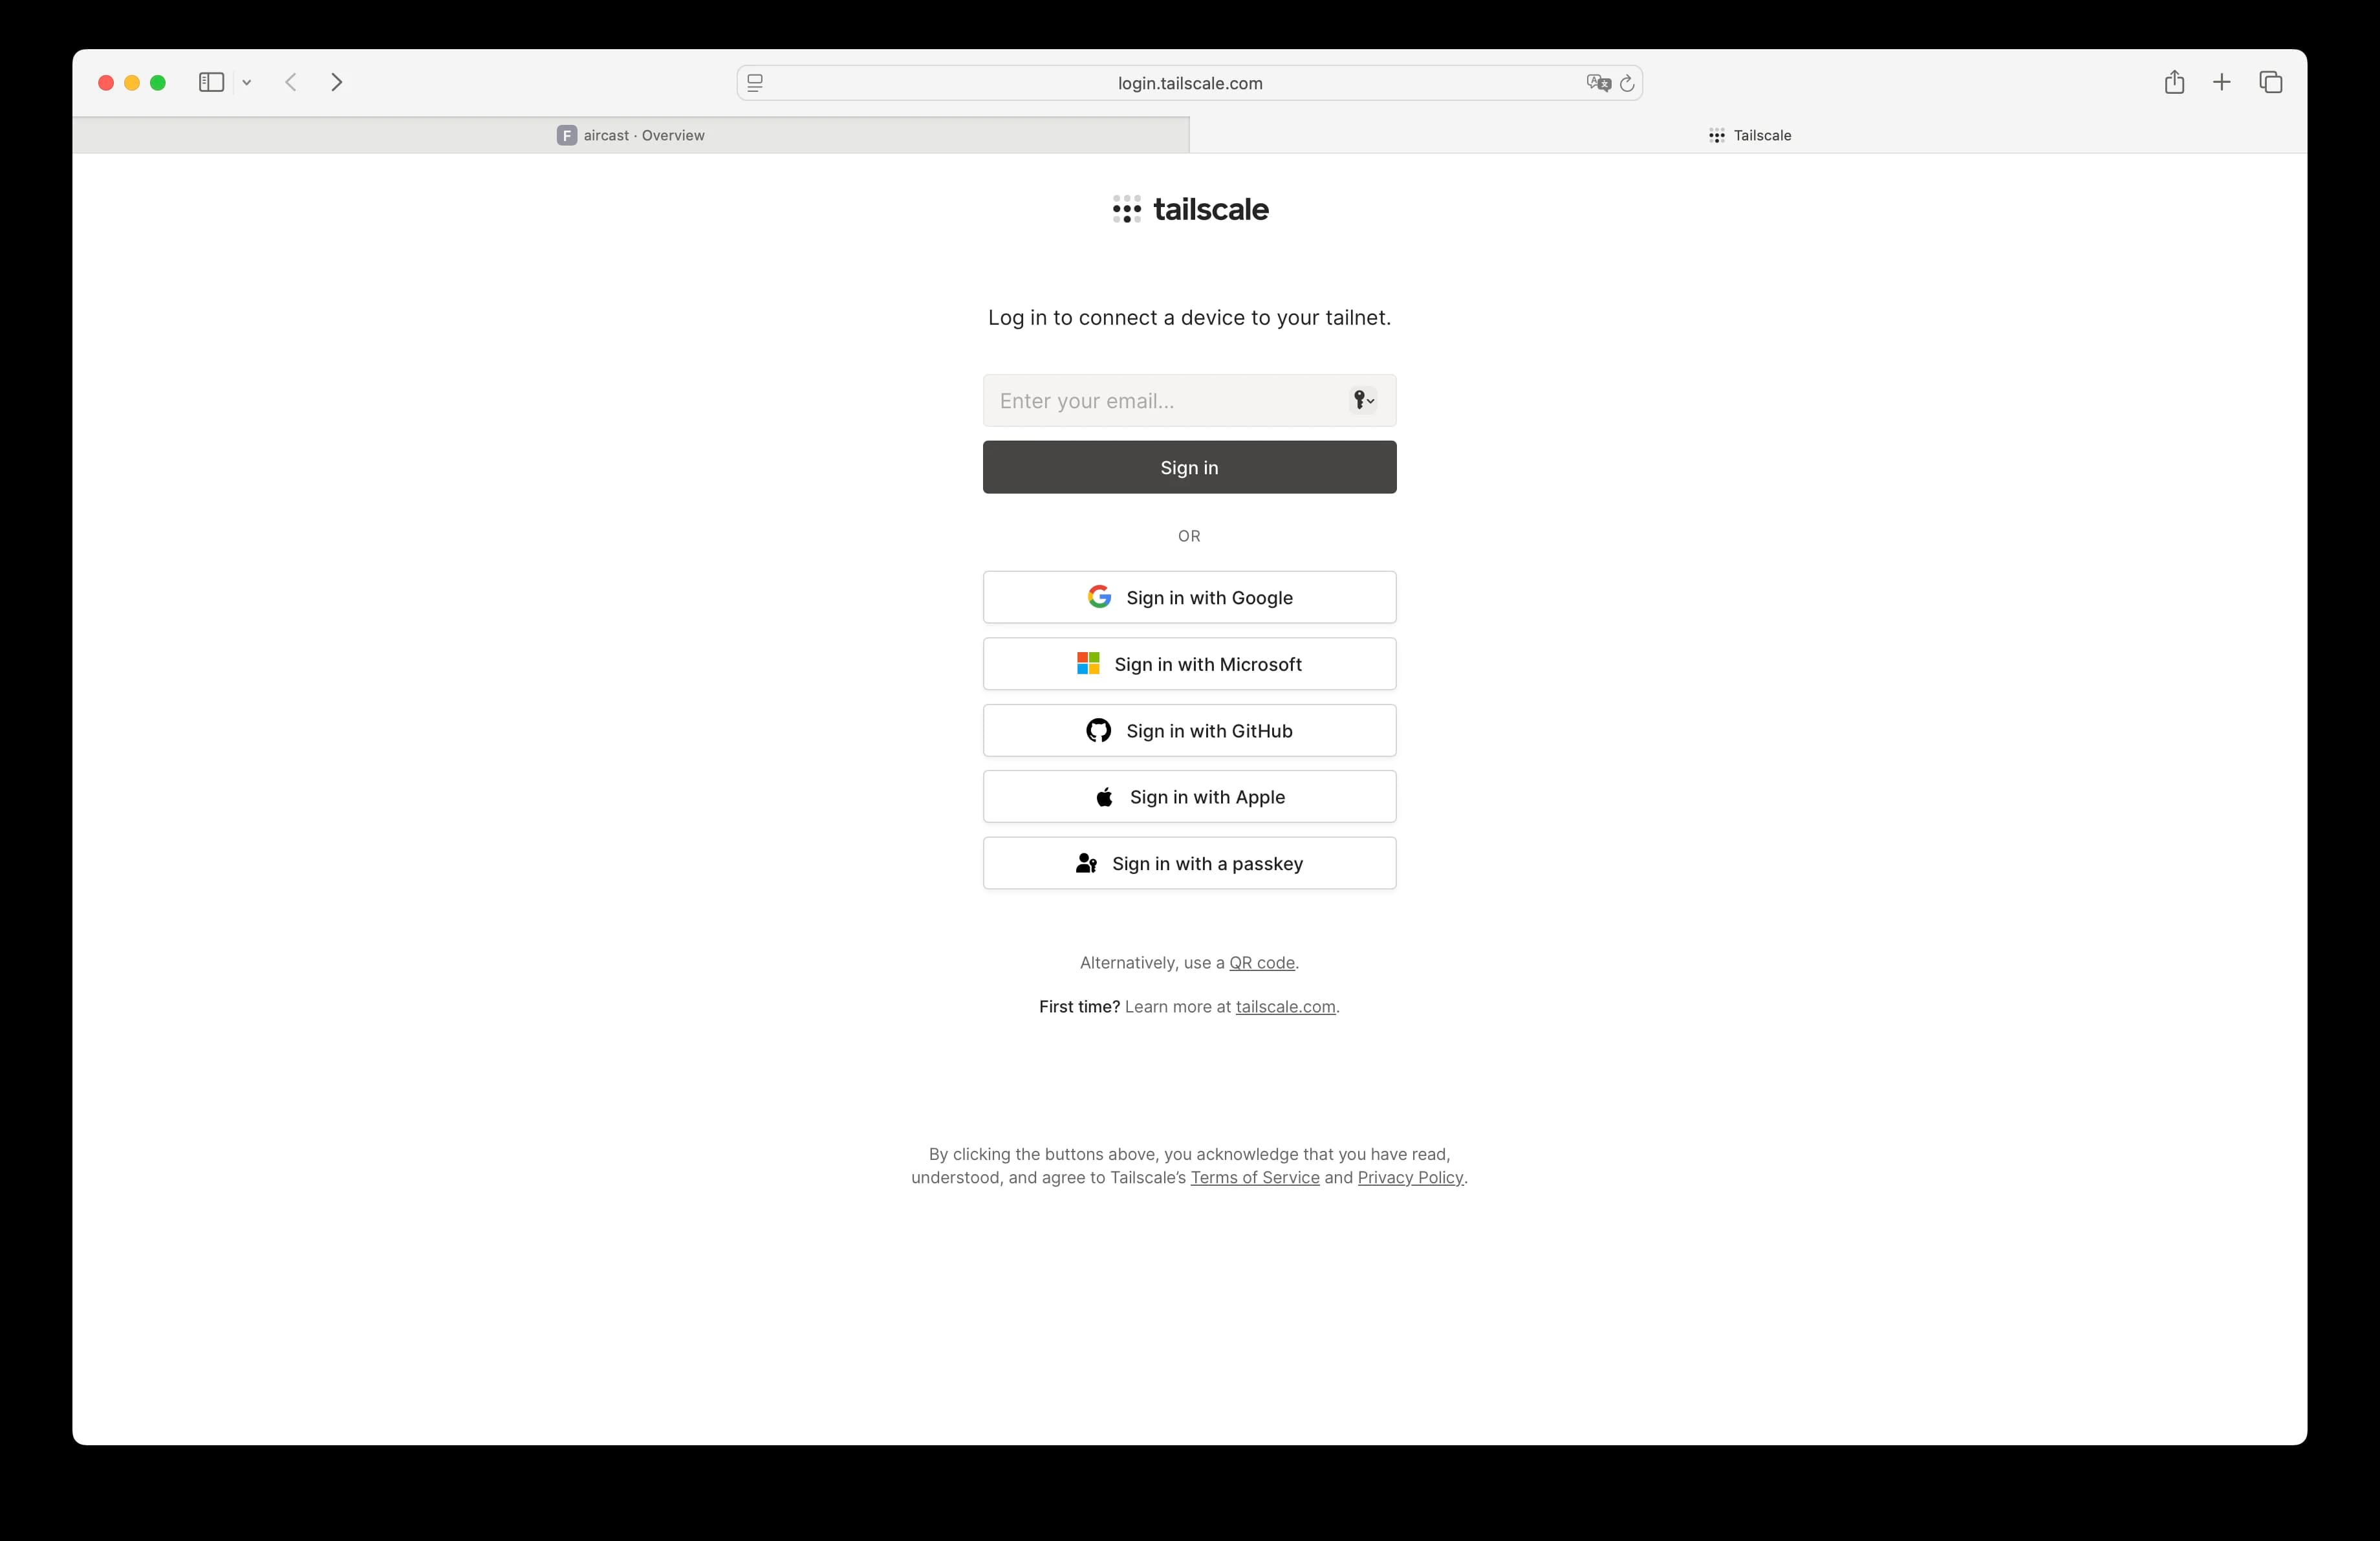
Approve the device
A Tailscale login page opens. Sign in and approve the device — it joins your tailnet and Remote Access switches to Connected on its own.
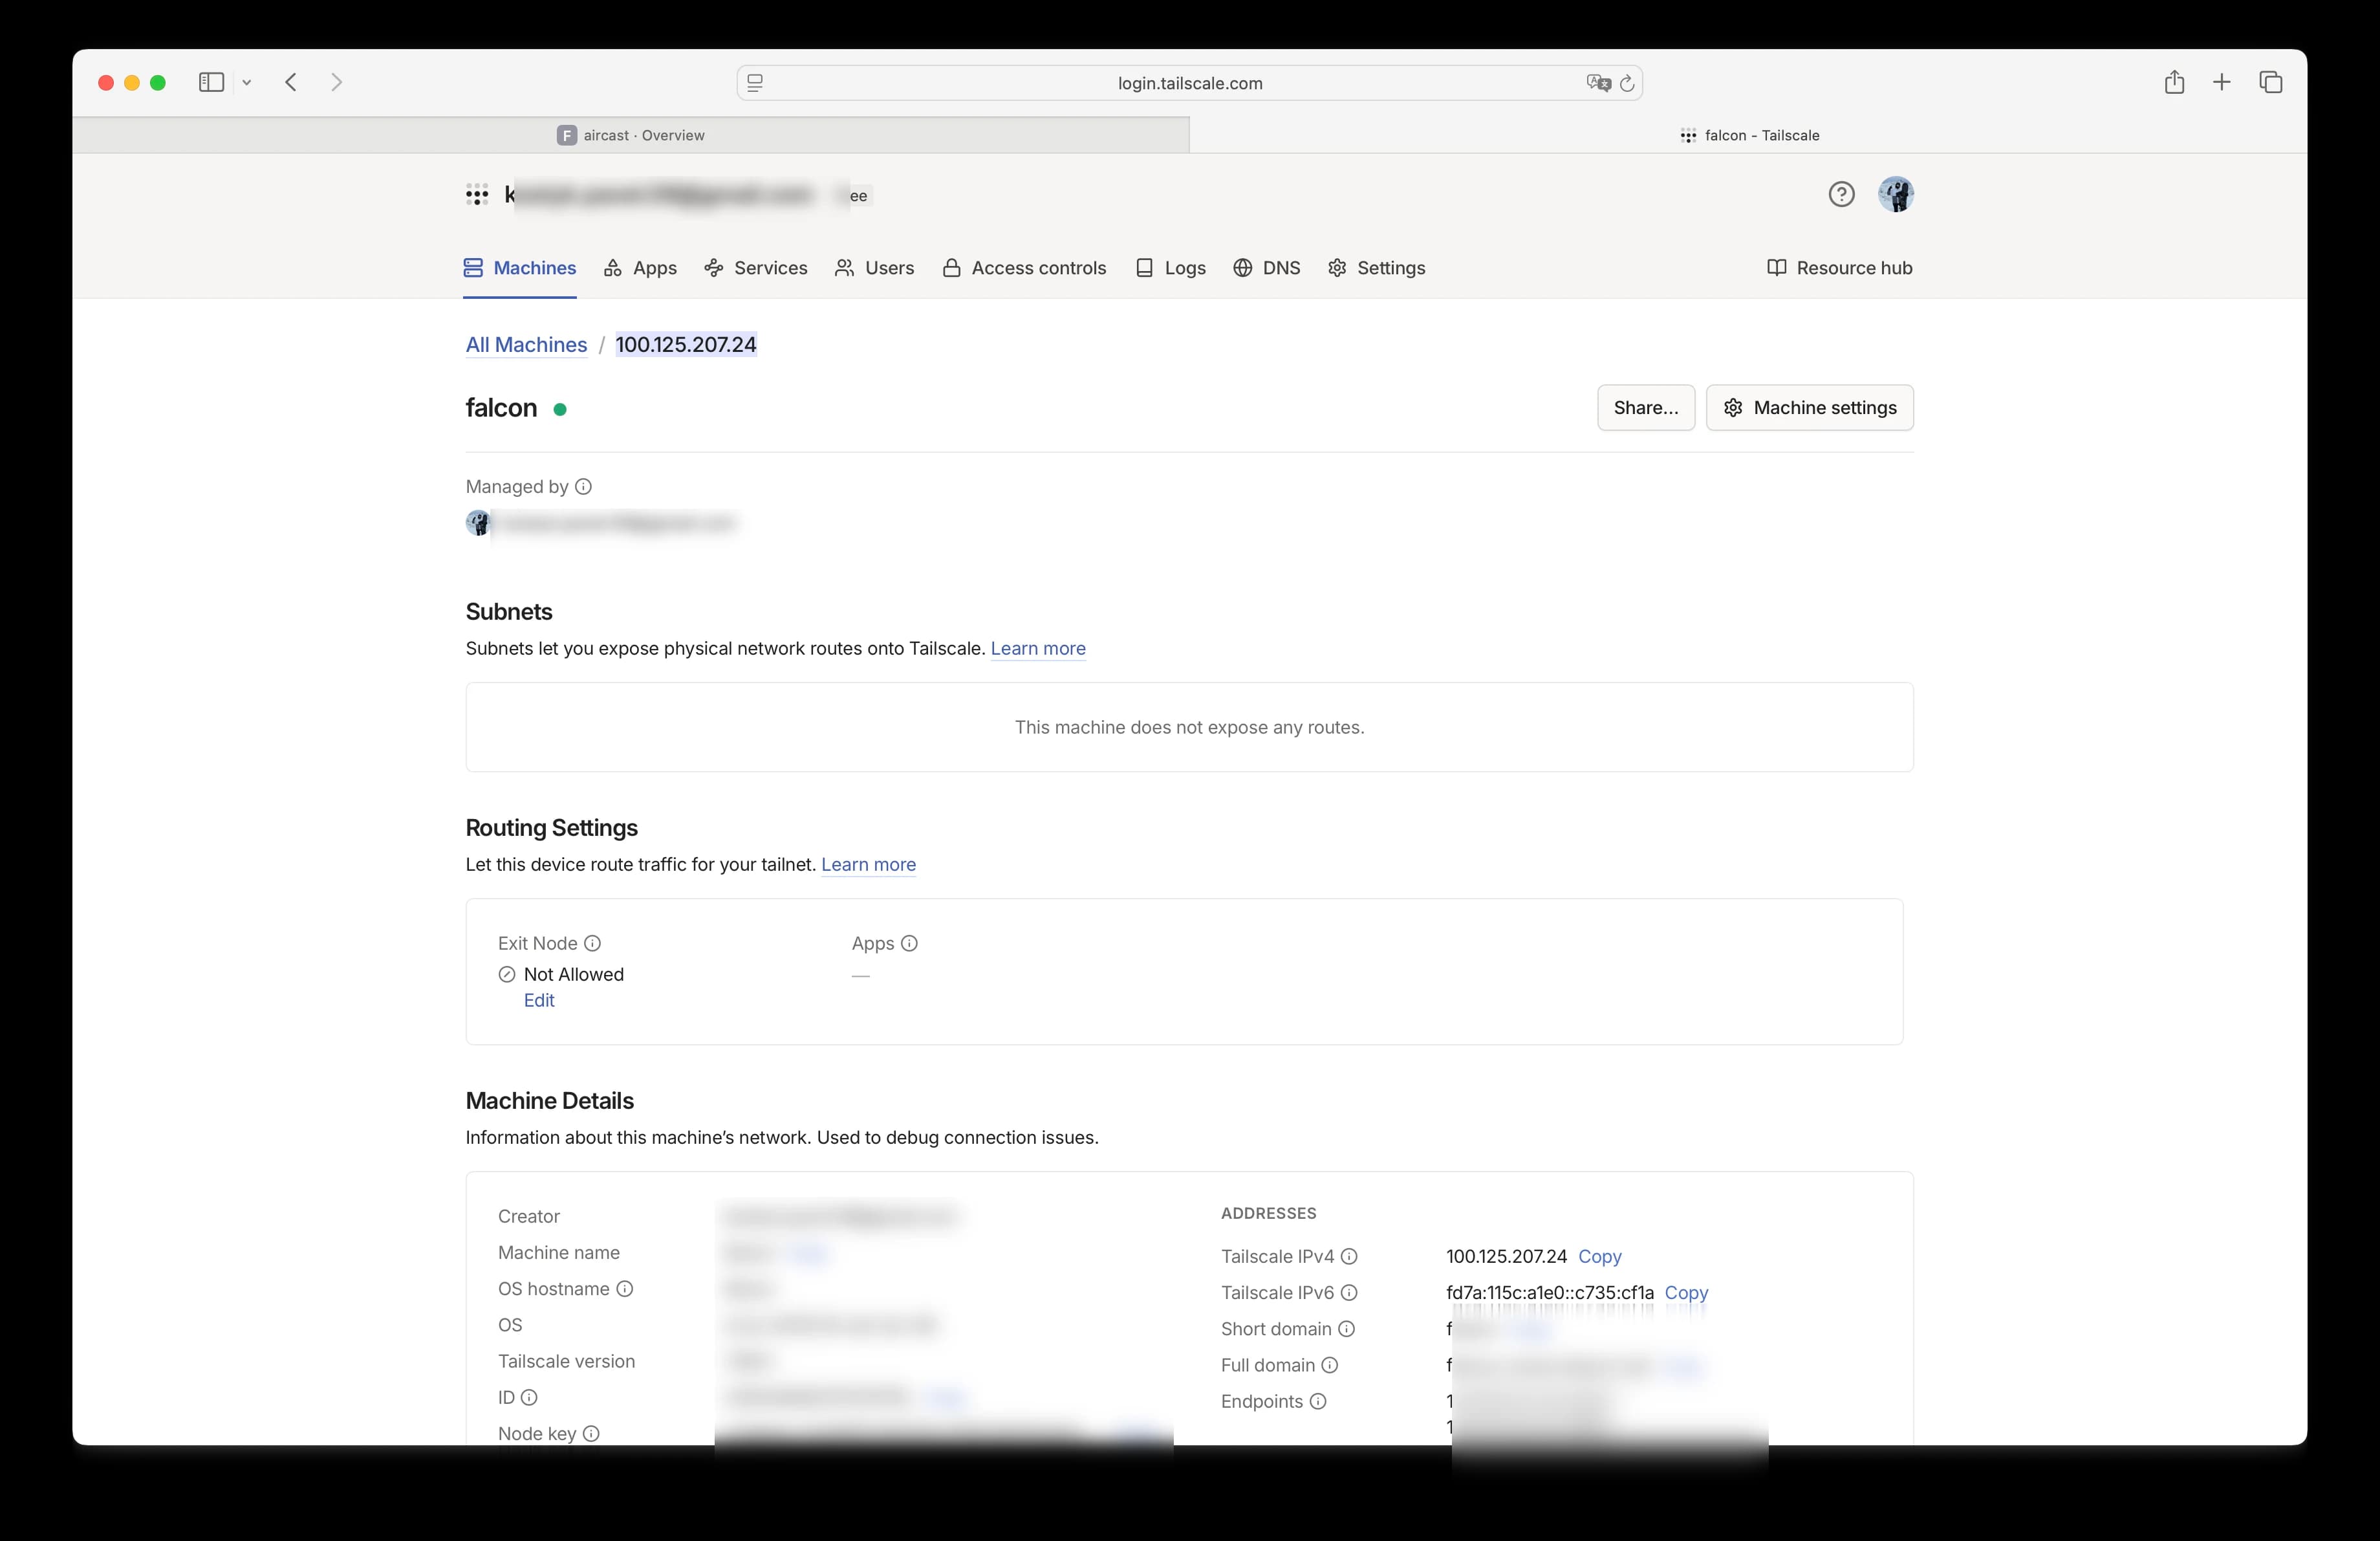
Find your device's address
Open the Tailscale admin console → Machines → your device. Its Tailscale IPv4 (a 100.x.x.x address) is listed under Addresses. That IP — or the <hostname>.<tailnet>.ts.net name — is what you use to reach the dashboard, video, and telemetry from anywhere. No port forwarding, no public IP.
Send telemetry to your ground station
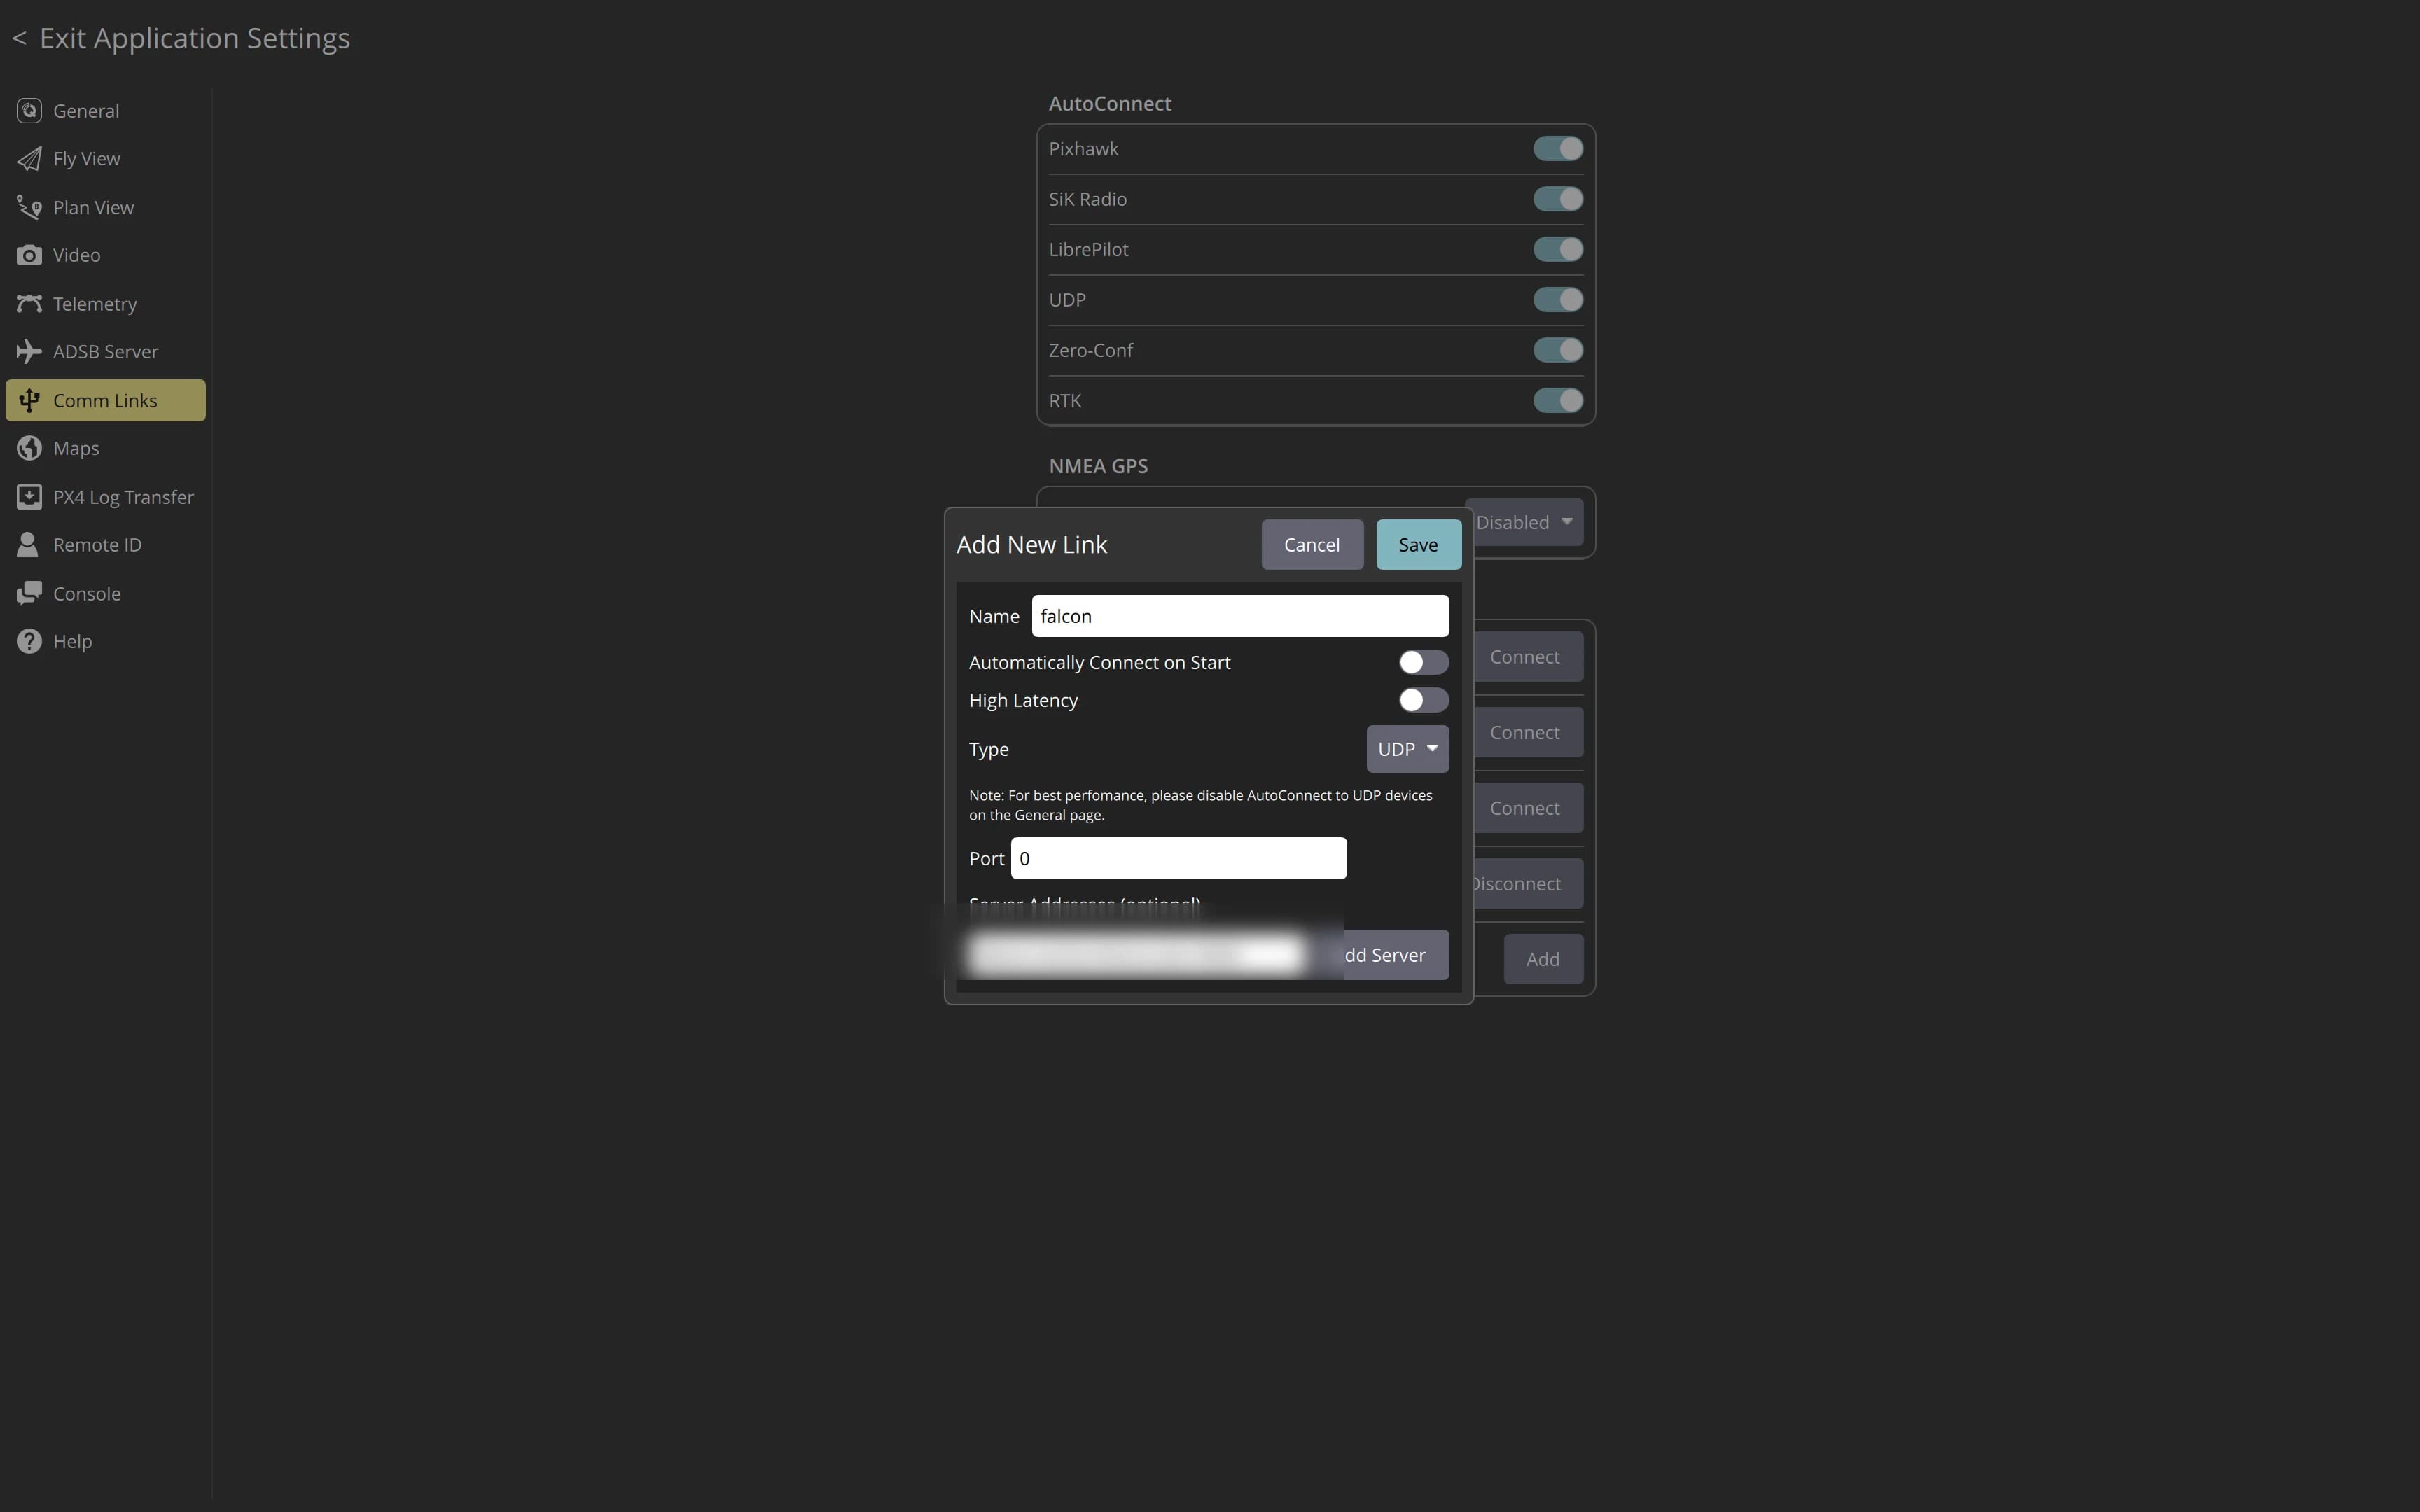
The Telemetry card shows a MAVLink UDP endpoint. Add it as a comm link in your ground station and you get flight telemetry over the same cellular link as the video.
In QGroundControl: Application Settings → Comm Links → Add, set Type to UDP, then add the device endpoint as a server. Use the Tailscale hostname to connect from anywhere, or falcon.local:14550 on the same network.
Mission Planner works the same way — add a UDP client connection to the same host and port (14550).
On This Page