On this page
First flight
Power the drone on, finish setting it up in the Aircast app it serves, then fly with live video and telemetry. Setup happens in your browser: nothing to install on the drone, and no SSH.
Power on
With the card in, the SIM seated in the modem, and the camera and flight controller plugged in (see How it connects), power the drone on. The first start takes a few minutes and restarts once, so leave it plugged in.
Open the drone
If the Flasher is still open, it finds the drone and shows Continue setup; press it. Otherwise open the hostname you gave the card in a browser on the same network. For a drone called falcon-01:
http://falcon-01.localThe drone serves the Aircast app itself, already connected to that drone: its telemetry, its cameras and its settings. Windows and Android often can't look up .local names; open the drone's IP address from your router's device list instead, such as http://192.168.1.23.
raspberry and open http://10.42.0.1. Device Unreachable has the rest./settings/device on the same address), press Check for updates under Software and install the update. The app opens once it is done.Finish setup in the Device tab
The drone lives under Settings → Device in the app. Its home page says in one line whether the drone is ready to fly and, if not, what stops it, with the fix one tap away.
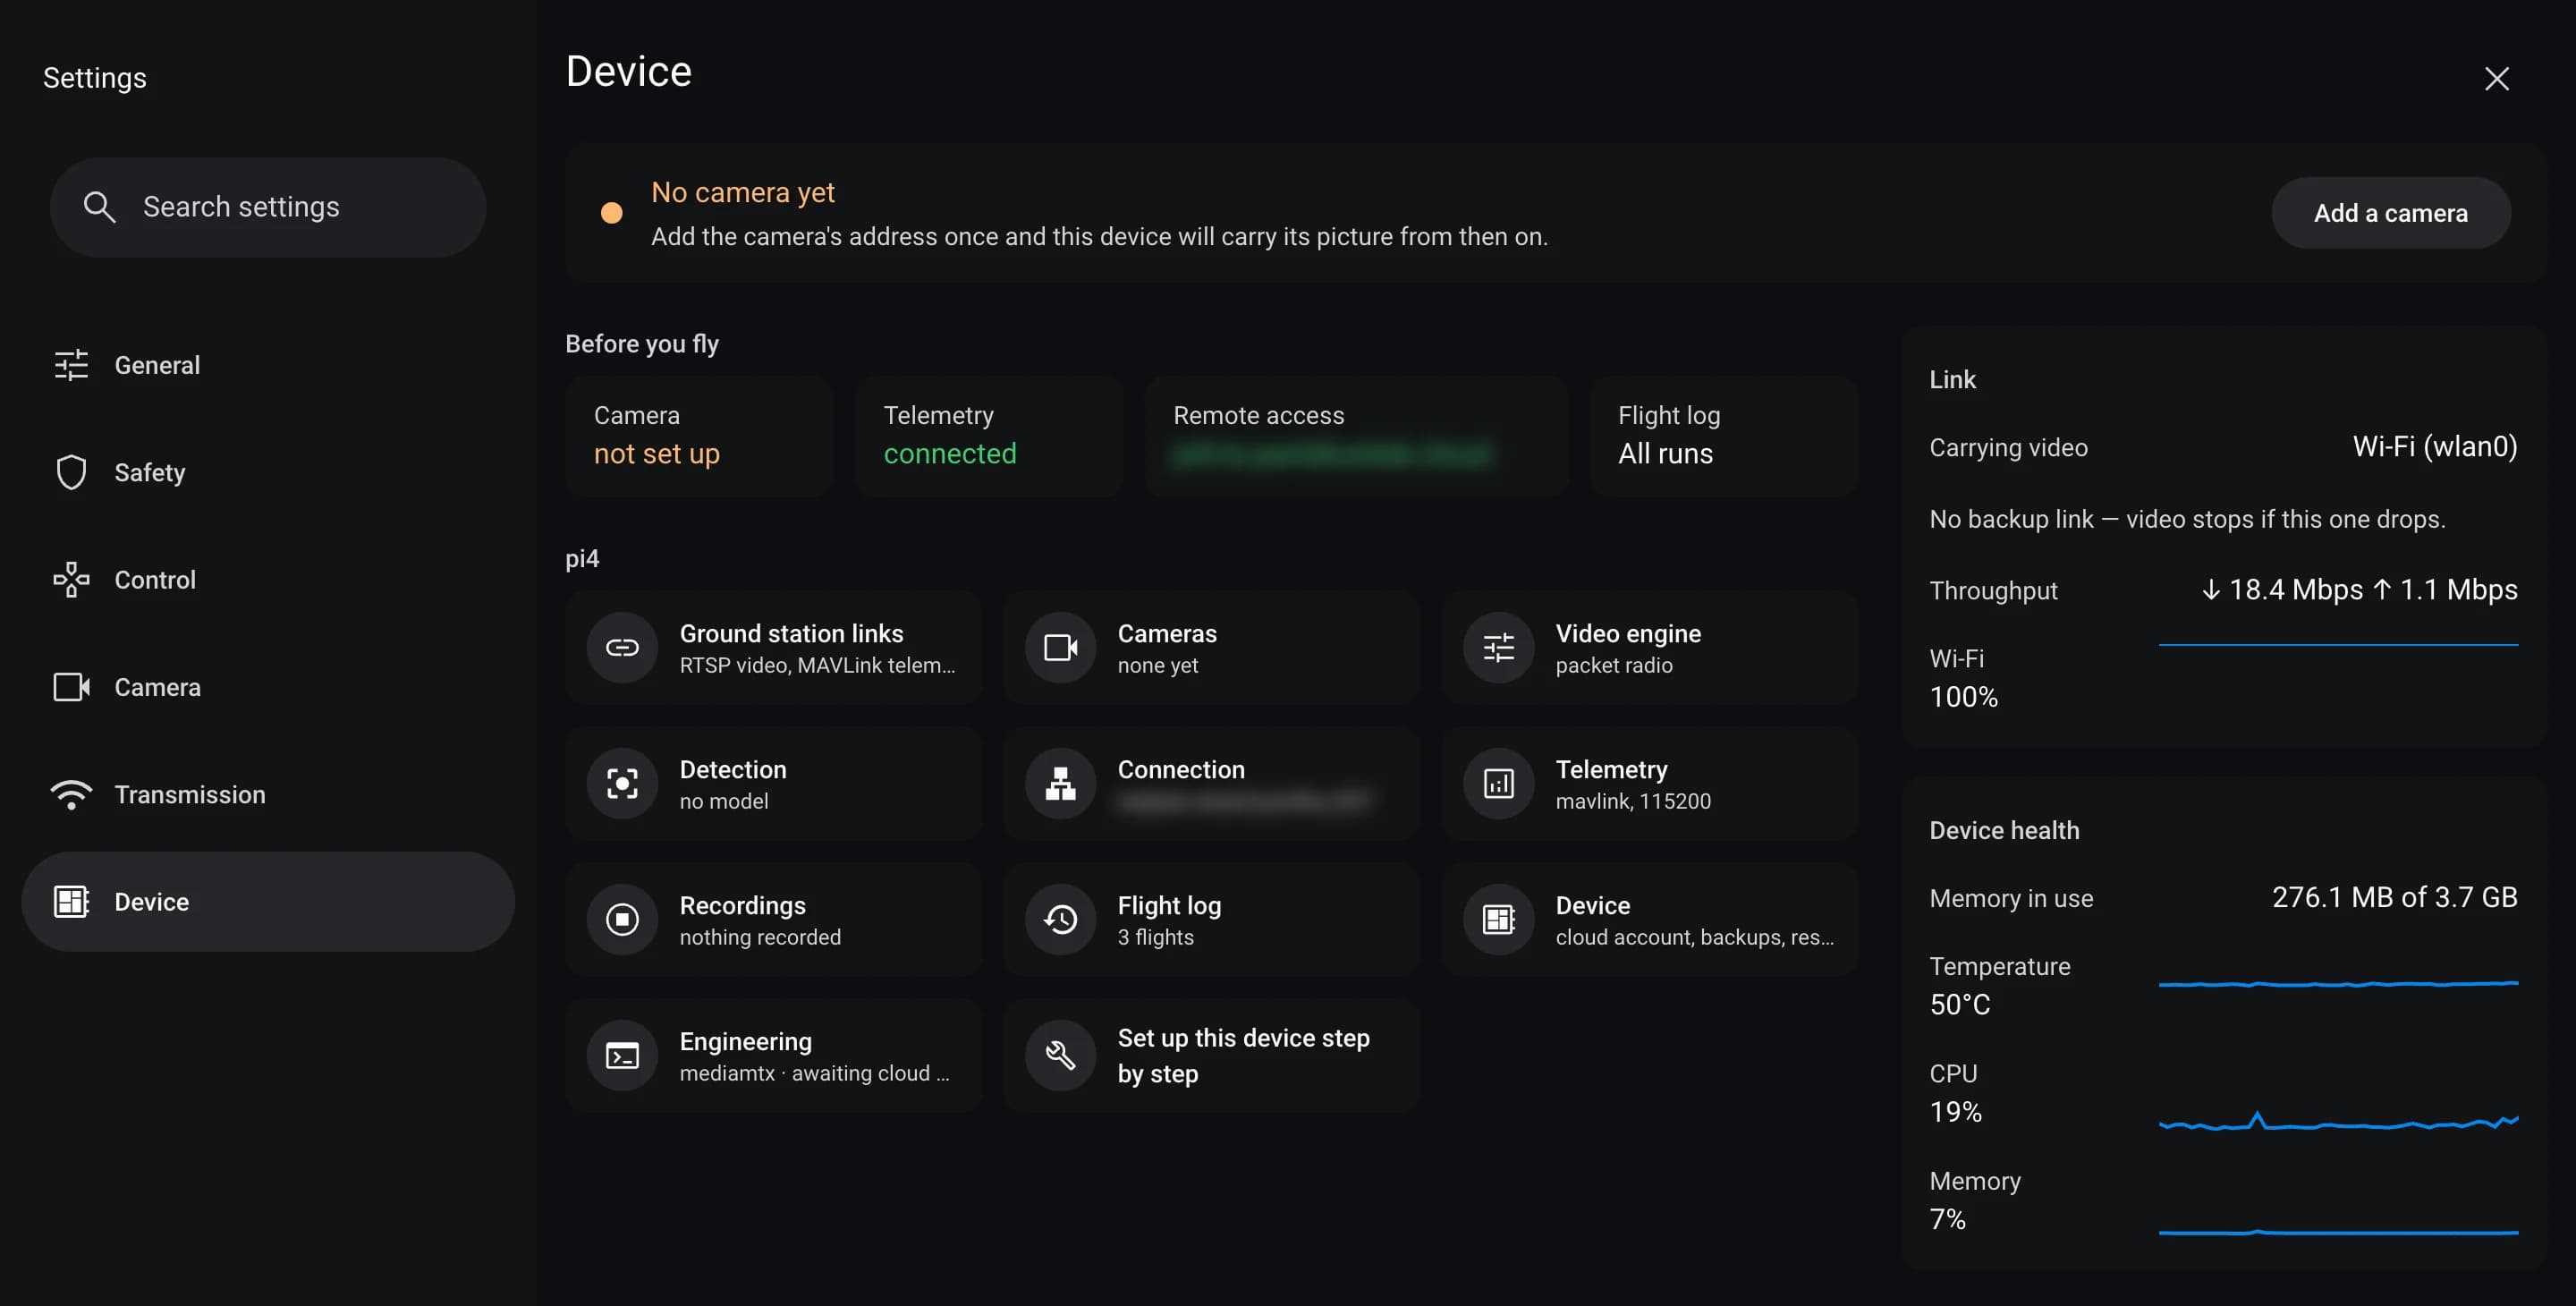
Set up this device step by step walks five steps and writes real settings as it goes. Each optional step can be skipped and done later from its own page.
Connect to the internet
Cellular usually connects on its own when the SIM was in at boot, so there is often nothing to do. Join a Wi-Fi network here if you'd rather use one.
Remote access
Optional, and already done if you gave the Flasher a Tailscale key. Otherwise Connect opens a Tailscale sign-in page; sign in or create a free account and approve the drone. This is what lets you reach it away from this network.
Camera
Scan for cameras looks for RTSP cameras on every network the drone can reach, including cameras still on the address they shipped with. If the scan misses yours, type its Camera RTSP URL, from its manual or Tested Cameras. A SIYI camera on its default address is:
rtsp://192.168.144.25:8554/main.264The Camera name becomes part of the stream addresses, so keep it to lowercase letters, numbers and dashes. Pick the port the camera's cable is in, and the wizard gives that port a fixed address on the camera's network, showing the change before it makes it. Set up & verify then checks video is really arriving, so a wrong address fails on the bench rather than in the air.
Telemetry
Nothing to fill in. Plug the flight controller into one of the drone's USB ports with a data cable and power it, and telemetry starts by itself. Wiring to the Pi's pins is not picked up. Skip this if there is no flight controller.
Done
The last step reads You're all set, or lists what is left, each row leading back to its step. The Device home now reads Ready to fly.
What's in the Device tab
The drone has no web dashboard of its own any more; every page it had is now a page of the Device tab. If you used the old dashboard, the right-hand column says where each page went.
| Page | What it holds | Was |
|---|---|---|
| Device home | One line on whether the drone is ready to fly and what stops it, the pre-flight checks, the link and health. | Overview, Flight |
| Connection | The uplink and its failover, the cellular modem and APN, Starlink, Wi-Fi, Tailscale, and data caps. | Network |
| Cameras | Each camera’s status and preview, adding one, sharing, recording and the gimbal. | Streaming |
| Telemetry | Whether the flight controller is talking, the MAVLink endpoints and the baud rate. | Telemetry |
| Ground station links | The exact RTSP, WebRTC and telemetry addresses to paste into another app, with QR codes. | Connect |
| Flight log | Every flight as a timeline with charts, including alerts held back mid-flight. | Flights |
| Device | Services, software updates, the Aircast cloud account and the hostname. | Settings → Device |
Recordings, Video engine (packet radio and public sharing) and Engineering hold the rest. The Device tab is in the app the drone serves, in Aircast Ground Station for Android, Windows and the browser, but not in Aircast QGC.
Connect your ground station
The app you set up in already flies the drone: video and telemetry are live in it on this network. For the stable ground station, use Aircast QGC:
- Download Aircast QGC for Windows, macOS, Linux or Android.
- Open Application Settings → Comm Links → Add, set the type to UDP, add the server
falcon-01.local:14550(or the drone's IP), and connect. - Once telemetry arrives, the drone announces its camera and Aircast QGC sets up Camera 1 by itself.
The exact addresses for this drone are under Ground station links in the Device tab. Flying Mission Planner or another app? Mission Planner & other ground stations has the steps.
Fly from anywhere
Everything above works on the drone's own network. To fly it over 4G or Starlink from somewhere else, put your laptop or phone on the same tailnet as the drone: Tailscale has the steps for each platform. Then use the drone's tailnet name wherever you used .local. If remote access is missing, the Device home says Not reachable away from this network.
To let someone watch without joining your tailnet, see Watch from anywhere.
Before you take off
- The Device home reads Ready to fly.
- Video plays in your ground station and the vehicle shows on the map.
- Set a monthly or per-flight data cap under Connection if your SIM has a limit. Caps warn you; they never cut the link.
- Turn on Recording for the camera if you want the video in the flight debrief. Nothing records until you ask.
Set up and ready
Pick the ground station you'll fly with, and what each app is for.
On This Page