On this page
Aircast QGC
The stable Aircast ground station: QGroundControl for ArduPilot and PX4, with Aircast video built in. An Aircast drone announces its cameras and Aircast QGC plays them, and you can add more streams, RTSP or low-latency WebRTC (WHEP), and watch them one at a time or all at once. Everything else is the QGroundControl you know.
Download
Latest stable: v5.5.11. Each button downloads the file directly.
Windows on ARM? Download the ARM64 installer (101 MB).
Windows on ARM? Download the ARM64 installer (105 MB) or the portable zip (160 MB).
New to the native apps? Aircast Ground Station covers installing them, the SmartScreen warning and what's new.
Live video and telemetry from your drone
Aircast QGC flies any MAVLink drone. To get the drone's camera and telemetry into it over 4G, Starlink or Wi-Fi, the drone runs Aircast on a small computer such as a Raspberry Pi. Three steps, about half an hour once you have the parts:
- 1What you needThe parts with buy links, which boards run Aircast, and how it all wires together. About $120 to $180.
- 2Flash the cardDownload the Aircast Flasher. It fetches Aircast OS, writes your Wi-Fi, hostname and remote access, and verifies the card.
- 3First flightPower on, finish setup in the Device tab of the app the drone serves, then fly with live video and telemetry.
xattr -dr com.apple.quarantine /Applications/QGroundControl.appWhich app
- Stable · recommendedAircast QGC →Fly with this. QGroundControl with Aircast video: missions, vehicle setup, and the drone’s cameras picked up by themselves.Windows, macOS, Linux, Android
- BetaAircast Ground Station →The next Aircast apps, with the Device tab where you set the drone up. The app every drone serves in the browser is this one.Windows, macOS, Android, iPhone, browser
- Any MAVLink appMission Planner & others →Already fly with something else? Point it at the drone’s telemetry and RTSP video.Whatever it runs on
Connect to your drone
With Aircast set up on the drone (First flight ends here), two things connect it:
- Telemetry. Open Application Settings → Comm Links → Add, set the type to UDP, add the server
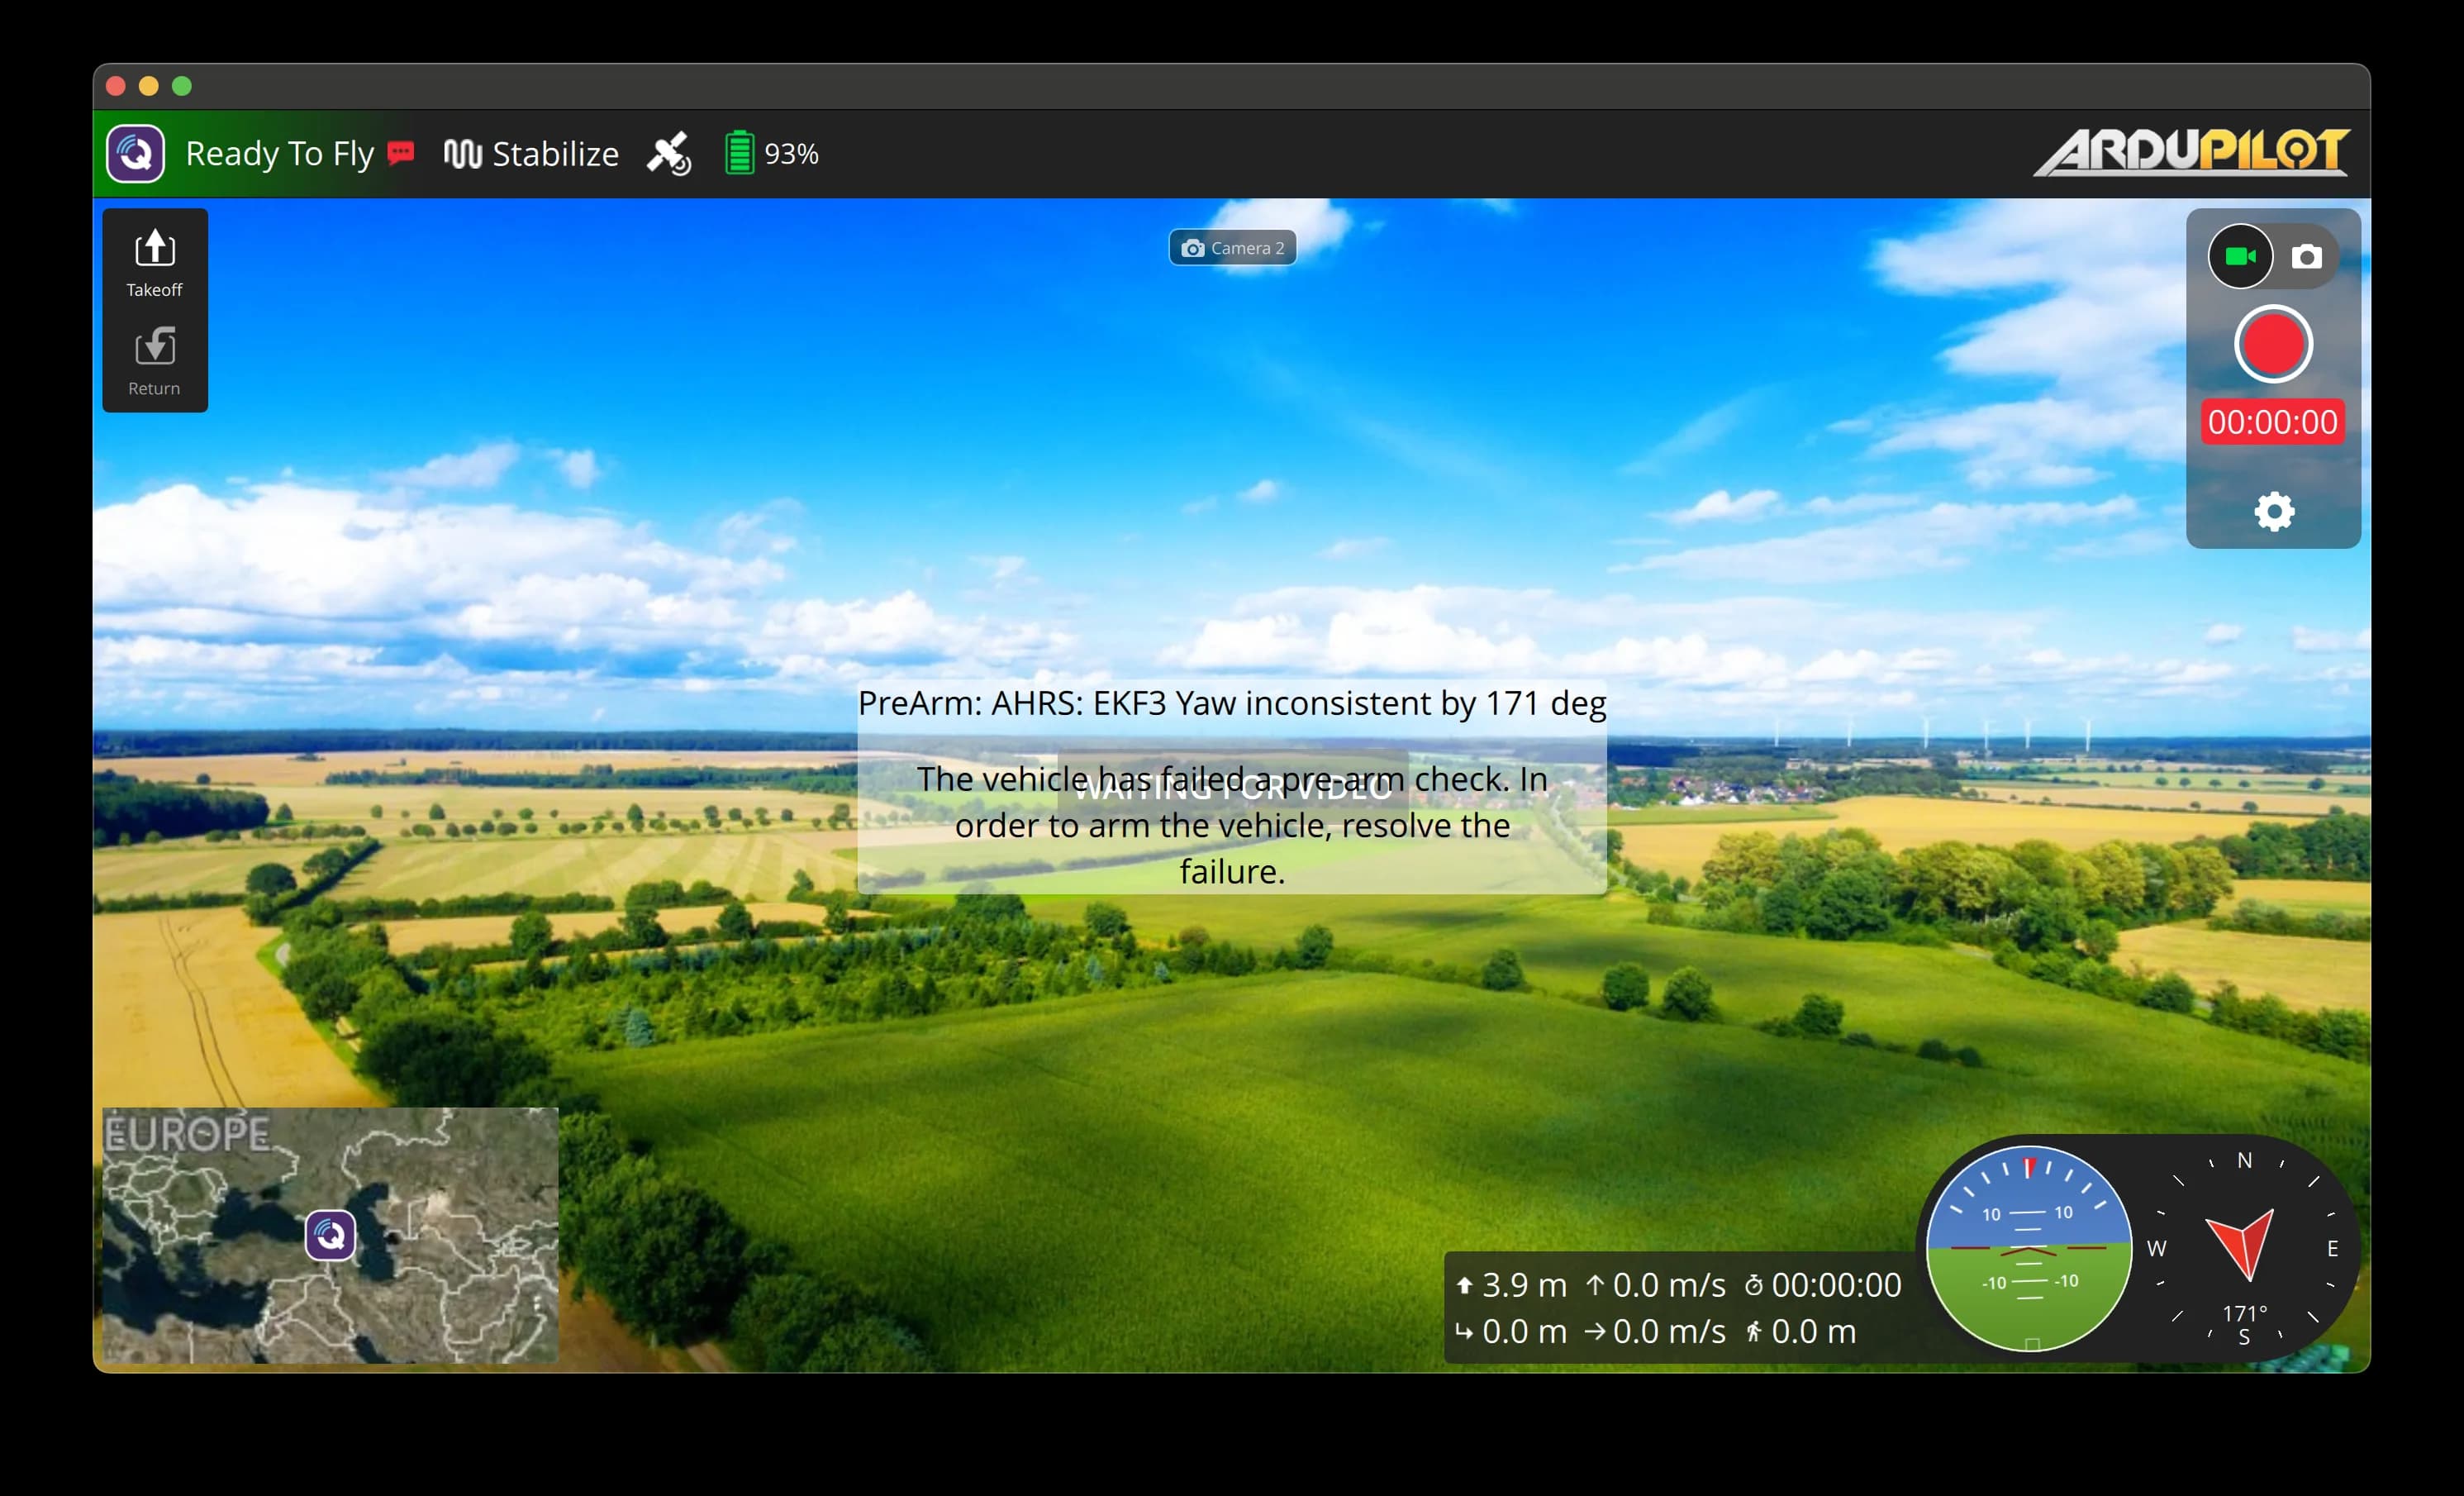
<drone>:14550and connect. On the drone's own network the drone is<hostname>.localor its IP; from anywhere else, its tailnet name. - Video. Once telemetry arrives, the drone announces its camera and Aircast QGC sets up Camera 1 by itself; Application Settings → Video then says it is configured over MAVLink. A drone with a SIYI gimbal bridge running announces nothing, so add its stream by hand as below.
The drone's exact telemetry and camera addresses are under Ground station links in its Device tab: open http://<hostname>.local in a browser, then Settings → Device.
More cameras
In Application Settings → Video, under Cameras, press Add camera stream for each extra camera: a wide-angle and a gimbal, or several drones. Give it a Name, pick the Source and paste the URL:
rtsp://<drone>:8554/<camera name>http://<drone>:8889/<camera name>/whepThe camera button at the top of the flight view cycles between them live. Turn on Show all cameras at once (picture-in-picture) to tile every stream into the flight view.
Tune for latency
Below the camera list, the Settings section trades latency against resilience:
- Low Latency Mode: shrinks the WebRTC jitter buffer to ~40 ms and renders each frame as it arrives. Best on a direct or low-jitter link. Turn it off on a lossy or relayed link, where the ~200 ms buffer gives packet recovery room to keep the picture clean.
- Video decode priority: leave on Default for hardware decoding. On macOS, “Force software decoder” can be lower latency for H.265, because the hardware decoder buffers extra frames.
- Connection Timeout: how long to wait for the stream before restarting. Keep it at 15 s or more; WebRTC needs a few seconds on a fresh connection.
Fly with your own radio
Plug an EdgeTX radio into the computer or tablet over USB and fly over 4G or Starlink with your own sticks and switches. Radio over USB has the setup.
Flash your card in about 5 minutes
The Aircast Flasher downloads the image, sets Wi-Fi and hostname, and verifies the card.
On This Page